How do you use 3D Director to raise Character Animation quality?
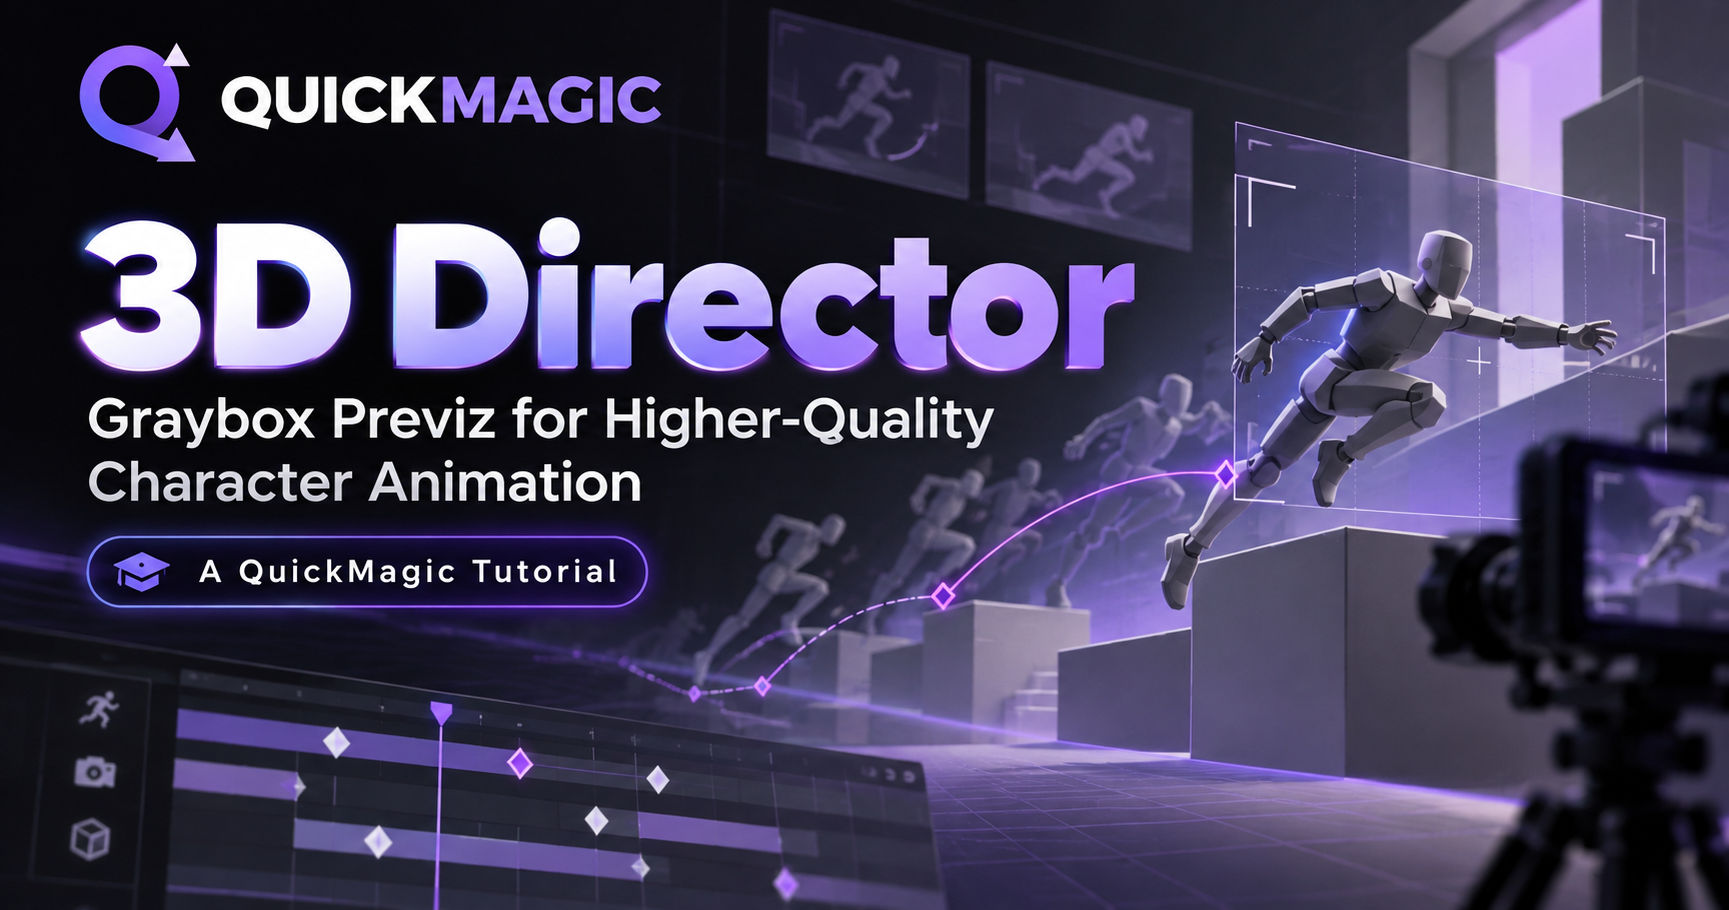
Build the scene, block the characters and design the camera in 3D Director, export the graybox animation video, then import it into Character Animation (image-to-video) so the generation models produce a better, more complete animation on top of it. 3D Director owns the structure layer — a low-cost graybox that locks in shot composition, blocking and camera movement. Character Animation's image-to-video owns the quality layer — using the graybox as reference, it fills in character detail, materials and lighting for near-final animation.
The goal of previz is not beautiful imagery, it is locking your shot language early. The value of the graybox is getting the structure right: once composition, blocking, camera moves and action timing are decided, image-to-video only has to generate the details on top of a reliable skeleton — actions hold their shape, the camera does not drift, and generation quality rises.
What this tutorial is based on: the official 3D Director walkthrough video (about 4:50, embedded below) and QuickMagic's documented workflow guidance. Screenshots are frames from that recording. Interface labels may differ by version.
Watch the walkthrough before editing
Official 3D Director walkthrough
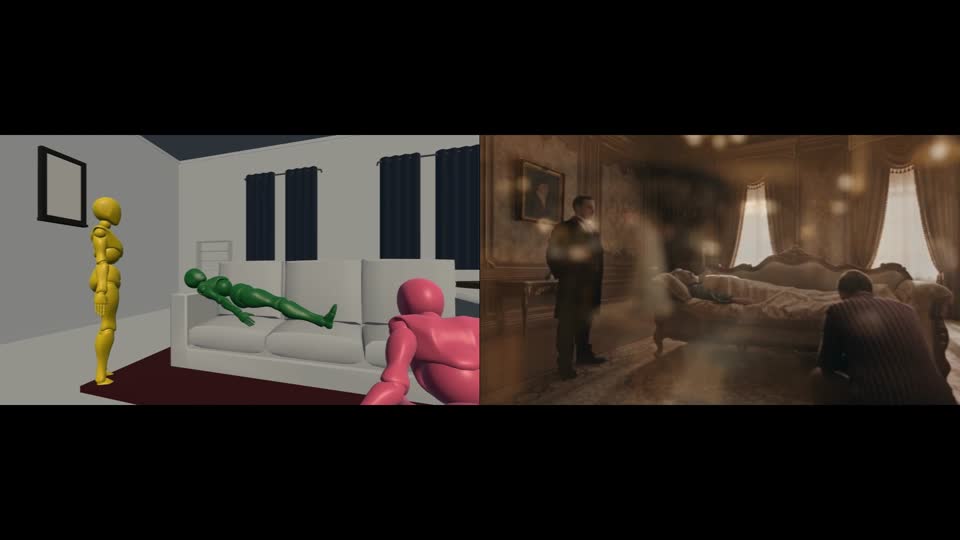
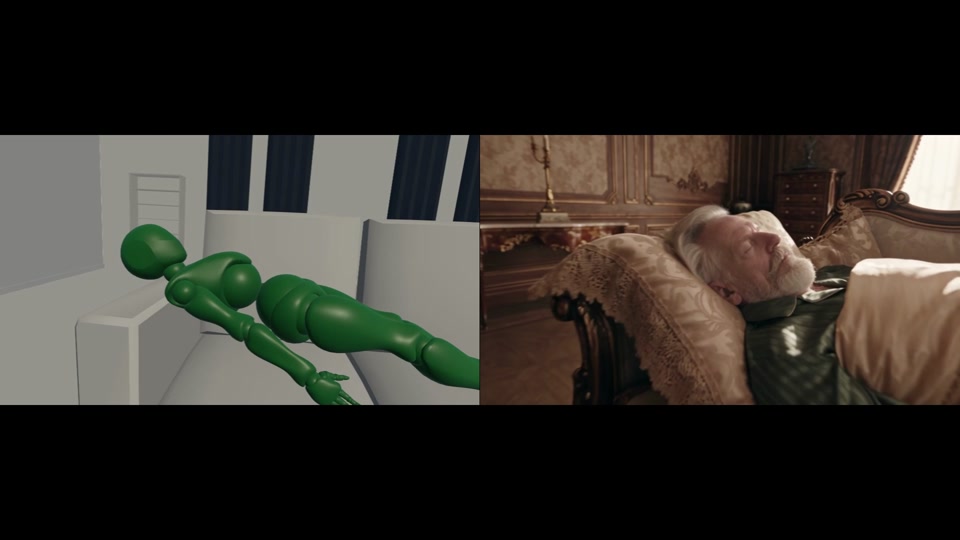
The video opens with the same shot rendered as a graybox and as a final frame, showing that the composition you lock in previz carries through to the finished picture. It then enters 3D Director from the QuickMagic home page and works through scene setup, character placement, pose adjustment, camera work and export. Watch it once, then follow the steps below.
Meet 3D Director
3D Director is the visual previz tool inside QuickMagic's Video Studio. It replaces live footage and detailed modeling with lightweight graybox characters and scenes, so you can validate storyboards, blocking, composition and camera movement before committing to production.
The end-to-end workflow: graybox to final animation in six steps
- 01Open the 3D Director editor
- 02Build scene, props and graybox characters
- 03Adjust poses; design cameras and movement
- 04Export the graybox previz video
- 05Import into Character Animation (image-to-video) and generate the detailed animation
- 06Iterate prompts and model options to refine the result
The first four steps happen in 3D Director and change the structure — composition, staging, rhythm — at very low cost. The last two happen in Character Animation and produce the quality: generate a detailed animation with image-to-video using the graybox as reference, then refine it by iterating prompts and model options. Lock the structure in graybox first, and generation has a clear target — with far fewer re-rolls.
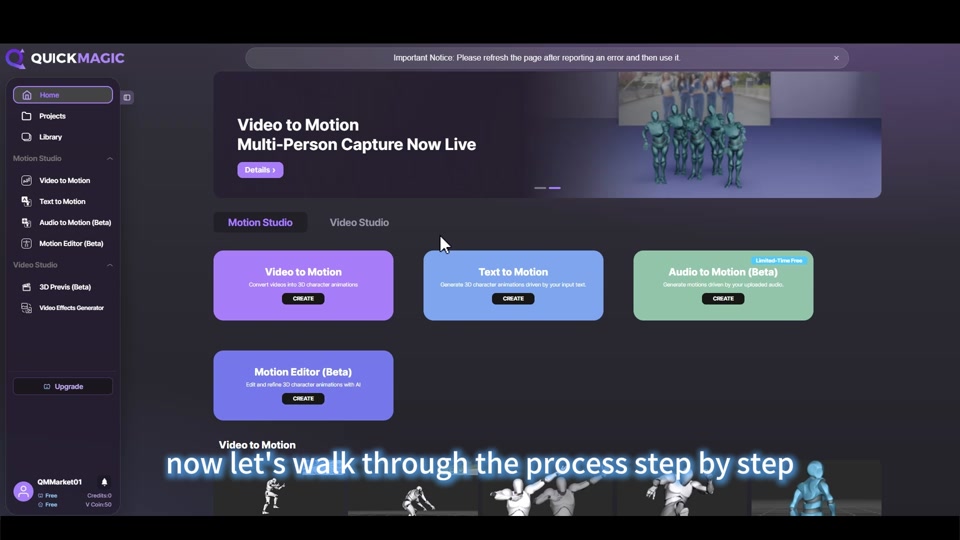
Step 1. Open 3D Director
Sign in to QuickMagic, find 3D Previs (Beta) in the Video Studio area of the home page and click CREATE to open the editor. The companion Character Animation (image-to-video) sits alongside it — 3D Director produces the graybox animation, and Character Animation turns it into a high-quality result.
Step 2. Build the scene and props
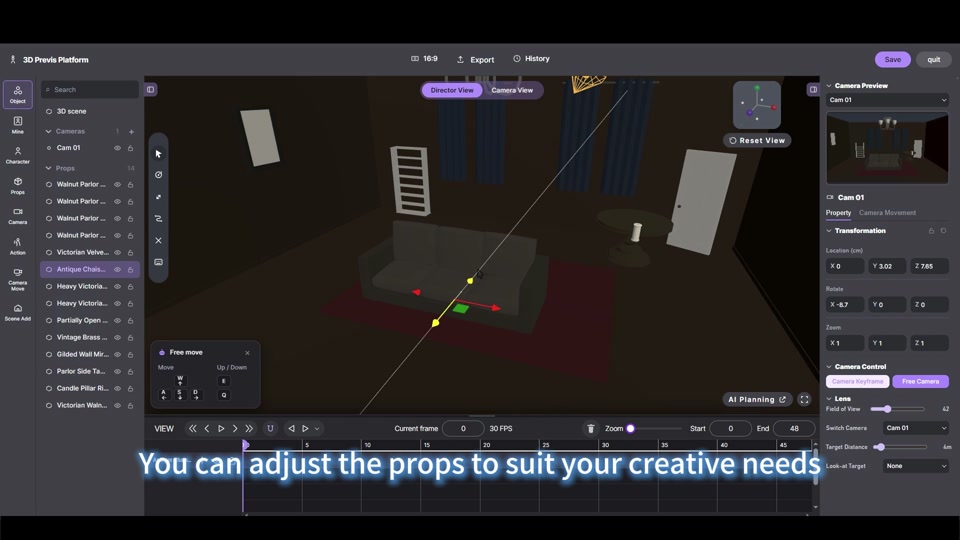
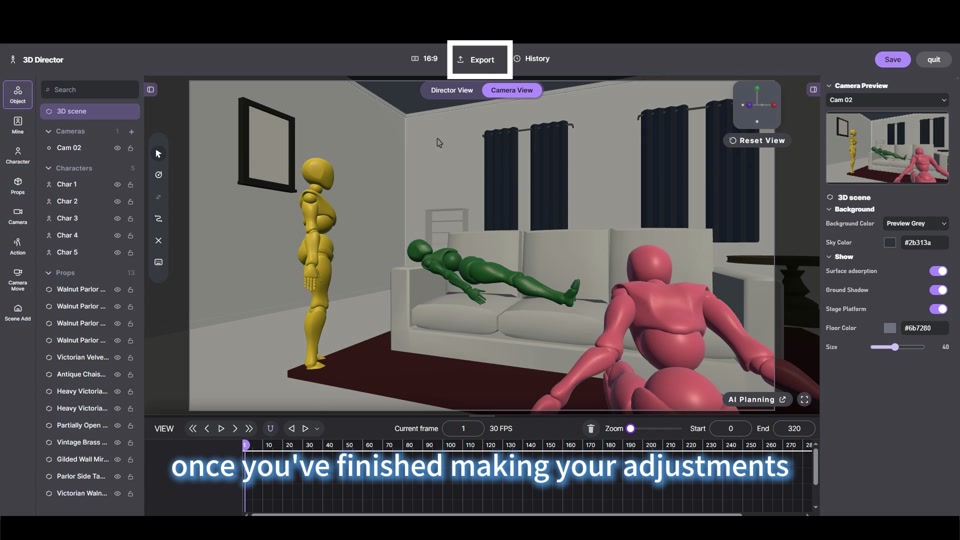
Choose a scene template from 3D scene in the left panel, then add sofas, curtains, mirrors and other items from the Props list. Select a prop to drag and rotate it freely — position props to fit your creative intent — or set Location / Rotate / Zoom values precisely in the right-hand properties panel.
The top bar switches between Director View (a director's overview for staging) and Camera View (the framing the camera actually records). The timeline at the bottom is where you will set camera keyframes later.
Step 3. Add graybox characters
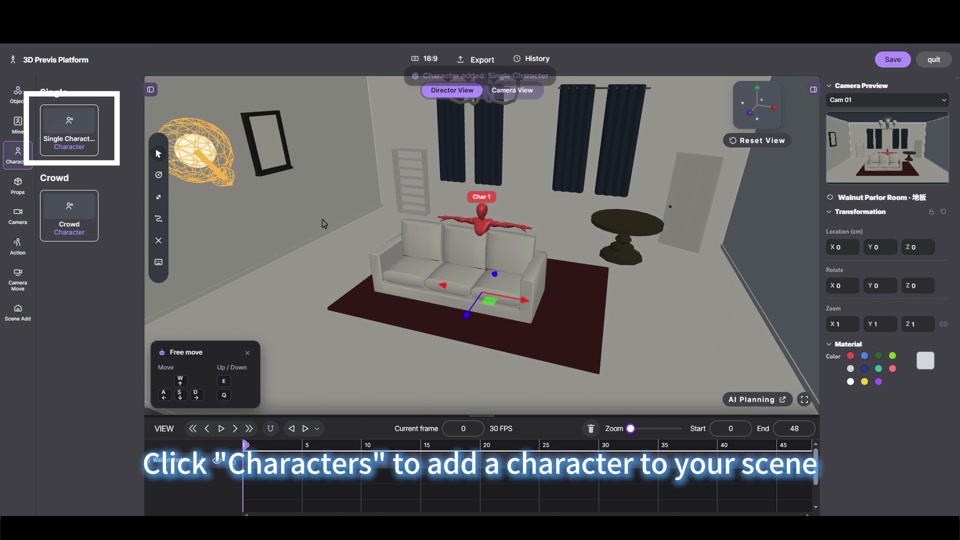
Click Characters on the left and choose Single Character or Crowd to place characters in the scene. Characters appear as distinct grayboxes (Char 1, Char 2…) so staging stays readable. Select a character to change its Transformation and Material color in the right panel.
Step 4. Adjust the pose
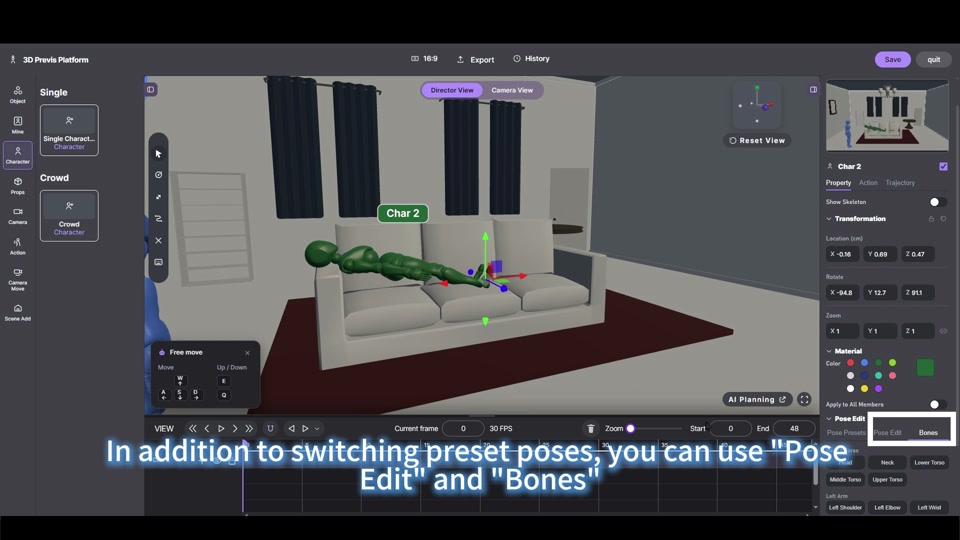
Beyond switching preset poses, use Pose Edit and Bones for fine control: enable Show Skeleton, then rotate individual joints — neck, torso, shoulder, elbow, wrist… — to place the character in any attitude, from lying down to leaning to bending over.
Step 5. Design shots: presets and camera movement
The Camera panel on the left offers rich preset shots: Low Angle, Profile Shot, Two Shot, Close Shot, Extreme Close-up, Wide Shot, Over Shoulder, POV and more.
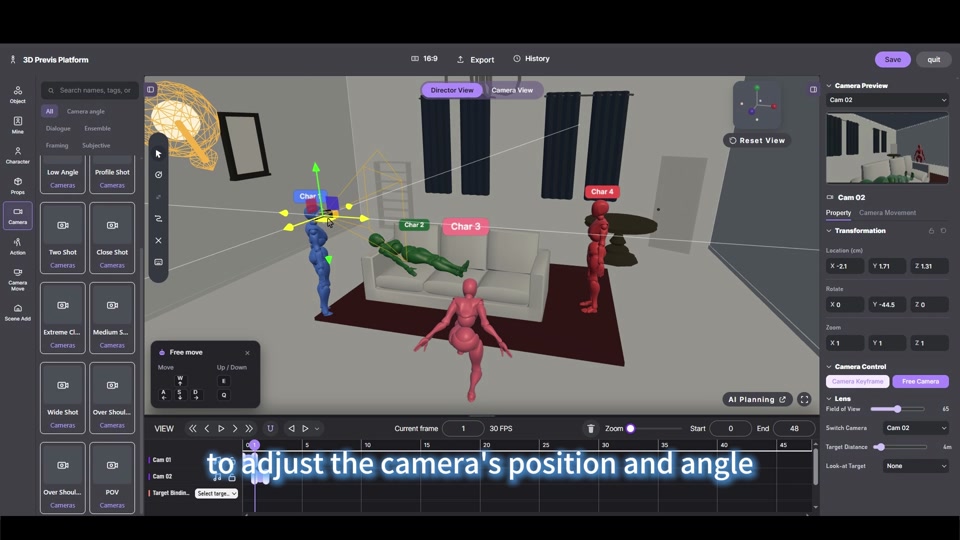
Camera movement supports two modes:
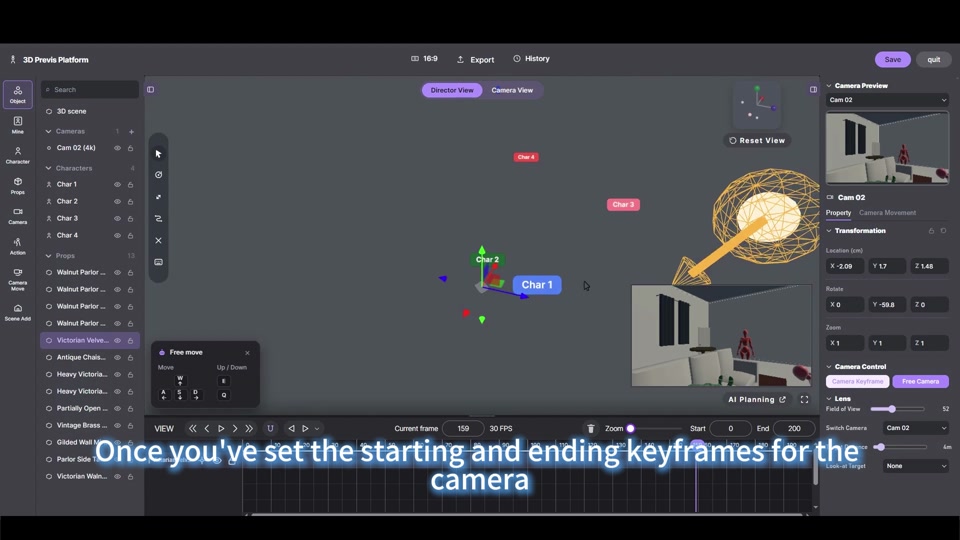
- Camera Keyframe mode: move the playhead to a target time, frame the shot, and a keyframe is recorded; with start and end keyframes set, the camera glides smoothly between them.
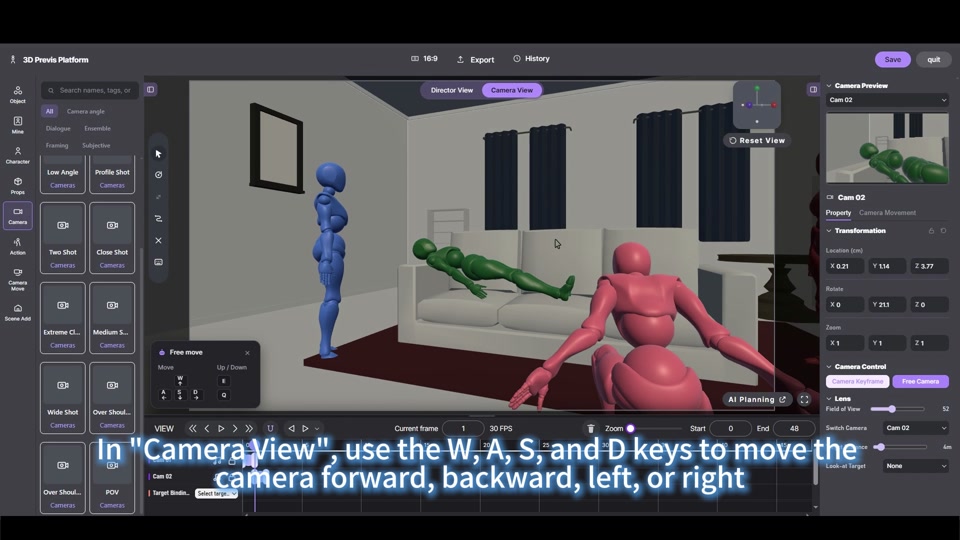
- Free Camera mode: in Camera View, move the camera with the
WASDkeys, aim with the mouse, and use Target Binding to track a character.
Step 6. Export the previz video
When everything is set, click Export at the top to render the video. The exported graybox animation is the reference material for the next stage in Character Animation (image-to-video) — the generation models build a better, more complete animation on top of the graybox motion. Click Save to keep the project; History lets you revisit earlier versions.
Import into Character Animation: graybox as a quality amplifier
This is where 3D Director pays off: the graybox animation is a quality amplifier for Character Animation's image-to-video. The exported graybox video is not the final picture — it is the motion skeleton you hand to the generation model. Composition, blocking, camera moves and action timing are already decided in graybox, so the model only has to fill in character detail, materials and lighting on a reliable structure. The result is a more stable, more complete animation.
How to import
- Finish the graybox animation in 3D Director and click Export;
- Import the graybox video (or extracted keyframes) into the image-to-video feature of Character Animation;
- Pick the generation model and describe the desired visual style and details in the prompt;
- The model generates the animation on top of the graybox motion — the structure comes from the graybox; character detail, materials and lighting come from the model;
- Compare the result with the graybox reference: structural mismatch means fix the graybox in 3D Director; unsatisfying detail means adjust the prompt and regenerate.