





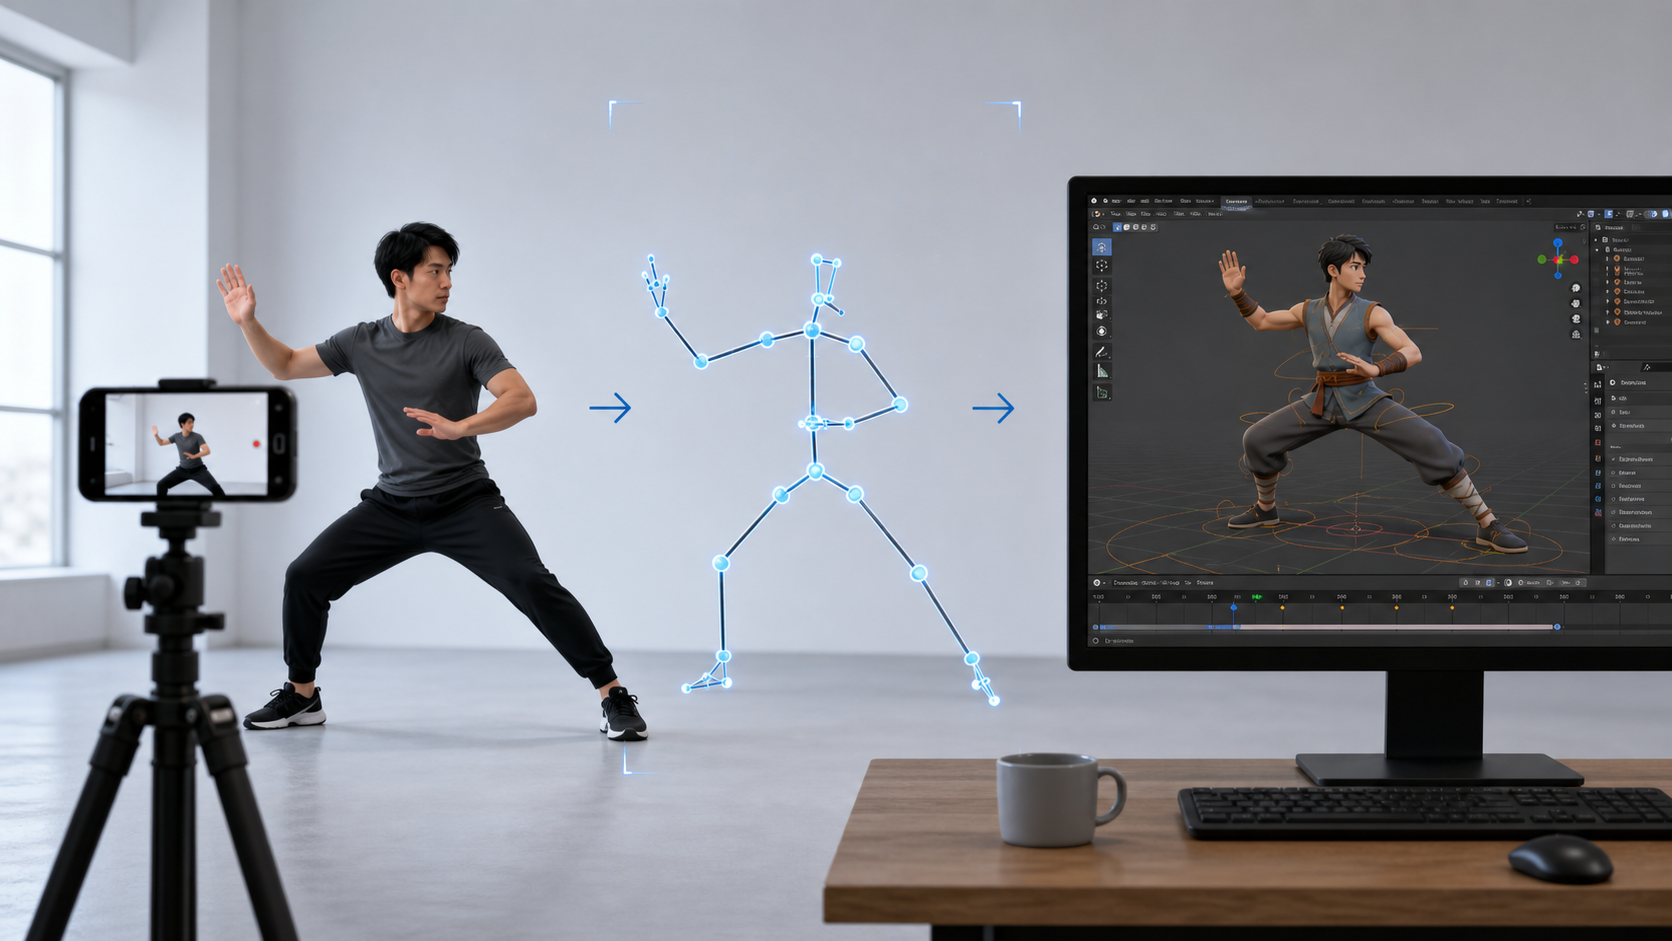
You can do motion capture at home without a suit by recording a clear performance with a phone or webcam and processing it with a markerless AI tool such as QuickMagic. Prepare the space, keep the action visible, generate the motion, then export and test it on a compatible character. No body markers or wearable sensors are required for this video-based workflow.
Product reference: QuickMagic Video to 3D Animation.
The useful upgrade is not necessarily a new camera. It may be moving a lamp, clearing a chair, or placing the phone far enough away to keep your hands and feet in view. This guide focuses on those home-specific decisions before walking through the capture and export process.
Try QuickMagic home mocapWhat you need—and what you can skip
Markerless motion capture estimates a performance from visible image information. It removes the need to place tracked markers on the body, but it does not remove the need for a readable recording. Hidden limbs, motion blur, and unsuitable framing still limit the evidence available to the solver.
| Item | A practical starting point | What to check |
|---|---|---|
| Camera | A phone, webcam, or camera you already own | The whole action is visible and recorded sharply. |
| Support | A tripod or secure, stable surface | The device cannot fall or obstruct the performance. |
| Lighting | Daylight or existing room lights | The body is readable without a bright silhouette. |
| Space | A clear area sized for the actual action | Travel, arm reach, headroom, and safety margin all fit. |
| Processing | A browser and QuickMagic account | The clip fits the current upload and plan limits. |
| Destination | A rigged character and compatible 3D software | The motion can be imported and retargeted. |
You do not need a green screen, reflective markers, a depth camera, or a multi-camera installation for this workflow. Start with the equipment you have, run one complete test, and only consider an upgrade after identifying a specific limitation.
Free-plan check: QuickMagic's current video-motion table lists one performer, up to 30 seconds at 30 FPS, a 50 MB upload limit, and FBX export on Free. Paid tiers offer different allowances and formats; Free does not include the commercial license listed for paid plans. Check current plans before relying on these limits.
The home mocap workflow at a glance
- 01 · PREPARERoom, light, and framing
- 02 · RECORDA short, clear take
- 03 · CAPTUREGenerate source motion
- 04 · REVIEWCheck contact and continuity
- 05 · EXPORTTest on your character
Do the entire loop with one simple action before recording a library of takes. A clean preview alone is not enough: you also want to know that the file opens, the timing survives import, and the motion transfers to the character you plan to use.
1. Set up your home capture space
Choose the movement before choosing the room
A seated greeting, a standing turn, and a traveling dance phrase need different spaces. Rehearse the intended action slowly and look for the widest arm reach, the furthest foot placement, and any change in height. The clear area must accommodate the whole movement, not just the starting pose.
A roughly 2 × 2 meter patch may be useful for small stationary actions, but it is not a universal minimum or a promise that a take will fit. You also need space between the camera and performer. If the room cannot safely accommodate the action, simplify the action or choose a larger suitable location.
Move chairs, loose rugs, cables, pets, and breakable objects out of the movement path. Check the floor for slip or trip hazards and keep the camera outside your travel area. Do not attempt flips, falls, combat contact, or other dangerous stunts in a confined room for a first mocap test.

Place the light in front or to the front side
A window can provide a useful broad light source when it illuminates the performer. Putting a bright window directly behind you can instead make the body difficult to read. Turn the setup, adjust the curtains, or move a lamp so that the important body parts remain visible.
Aim for even, practical illumination rather than a dramatic cinematic look. Check the recording for a dark face, blacked-out clothing, hard shadows across limbs, or flickering light. If daylight changes during a session, review a new test before assuming the earlier exposure still works.
Use clothing that reveals limb direction
Choose comfortable clothing that allows the action and separates visually from the background. A dark outfit against a dark sofa can make the silhouette harder to distinguish. Very loose sleeves, skirts, or flowing fabric can obscure where the body is moving underneath.
You do not need a special capture uniform. The aim is clear body shape and visible limb direction, not restrictive clothing. Use footwear appropriate to the floor and movement; do not choose slippery socks merely because they are convenient indoors.
Stabilize the phone and check the widest pose
For a first full-body recording, roughly hip-to-chest camera height is a reasonable starting point, not a calibration rule. Move the camera until the entire action fits with margin above the head and raised hands and below the feet. Avoid an extreme close, tilted view when a more level, distant view is available.
Use a secure support. A stack of loose objects near the movement area is not a good substitute for stability. If floor tape helps you remember the framing boundary, keep it flat; it is a performer guide, not a tracked motion-capture marker.
Check the lens view while extending both arms, reaching overhead, and stepping to the limits of the planned action. A setup that fits a neutral standing pose can still crop the most important part of the performance.
Adapt a small room instead of forcing full-body capture
If you only need a seated or upper-body gesture, frame for that purpose and select a compatible capture scope. Keep the torso and hands visible throughout the gesture. Do not promise a full walking animation from footage that never shows the legs.
Full-body framing also makes the face and fingers smaller in the image. If detailed facial acting or a precise hand performance is the main deliverable, plan a more suitable recording for those channels rather than expecting a distant room-wide shot to resolve everything equally well.
2. Record a short, readable performance
Make a test recording before the real take
Record a few seconds, then watch the actual file—not only the live camera preview. Pause on the fastest part of the movement. Can you see where the wrists, knees, and feet are? Check whether focus changed, the camera shifted, or a limb left the frame.
Visibility is necessary, but it does not guarantee a perfect 3D solve. A camera records a flat image, and some depth or contact relationships remain ambiguous. Your test is meant to catch avoidable recording problems before you spend time processing them.
Use frame rate and exposure deliberately
A sharp 1080p/30 FPS recording is a practical first test for ordinary movement if your device and upload limits support it. Higher frame rate may help describe fast movement, but only when the lighting and exposure keep individual frames useful.
60 FPS does not automatically eliminate motion blur. Frame rate determines how often frames are captured; exposure time affects how much movement is smeared within each frame. More frames of blurred limbs do not recover a clear pose. Add appropriate light and inspect the result instead of selecting the highest number by default.
Likewise, 4K is not automatically necessary. A larger file is only useful if it preserves meaningful subject detail and remains within the upload allowance. Avoid repeated social-media compression when you can upload the original camera file.
Start with low-risk, simple actions
Good first tests include a wave, a small bow, a weight shift, or a controlled step and stop. Keep the first takes around 5–15 seconds as a working suggestion, not a platform requirement. Give yourself a brief stable beginning and ending so the action is easier to trim and compare.
Keep the camera still and use one continuous take. Avoid dramatic camera moves, cuts, and filters while validating the workflow. Record a couple of variations, name them clearly, and change one thing at a time if you are testing light, camera angle, or clothing.
Try a view that separates important limbs. If an action repeatedly hides one arm behind the torso, a modest change of camera angle may reveal it. There is no single view that eliminates occlusion for every performance; judge the movement you are actually recording.
3. Generate the motion with QuickMagic
Open QuickMagic's video-to-3D-animation tool, sign in, and upload the chosen take. The tool lists MP4, MOV, AVI, and WebM inputs. Confirm the correct performer, orientation, and action range before processing.
- Select the subject: start with one clearly visible performer while validating your home setup.
- Match the capture scope: choose the available full-body or upper-body workflow appropriate to the recording.
- Choose additional channels only when needed: hand or face capture needs suitable source visibility and a destination that can use the data.
- Check camera and timing options: use settings appropriate to the source and the receiving project, then keep them consistent for comparisons.
- Run the job and save its settings: retain the source filename and chosen options alongside the result.
Controls and entitlements can change, so follow the current interface rather than assuming a particular model name or cleanup slider will always be present. Processing time varies with the job and queue; allow time for reviewing and correcting the motion as well.
Supported capture scopes and settings: QuickMagic product guide. Plan-dependent limits: pricing comparison.
Watch: the type of motion output you are aiming for
This official QuickMagic product demonstration illustrates video-to-motion output. It is not a home-room setup tutorial or a benchmark for every phone recording; use the room checklist above to prepare your own source.
This browser could not play the included video. Open the official demonstration.
Your acceptance test: the captured action should remain readable through the whole clip, not just resemble the performer in a single pose. Check timing, limb continuity, and the relationship between the supporting foot and the body's travel.
4. Preview, compare, and decide what to fix
Watch the generated source motion at normal speed, then scrub the turns, contacts, and previously hidden frames. Compare with your original take before putting the animation on a custom character. This helps distinguish a source solve problem from a later retargeting problem.
- Support: does the weight shift over the supporting leg, or does the pelvis drift away?
- Contacts: do feet remain reasonably stable during planted intervals?
- Continuity: do limbs reappear plausibly after crossing or being hidden?
- Performance: are the intended pace, pauses, and gesture accents preserved?
- Extra channels: are hands or facial movement useful for the intended character?
Use available refinement tools to correct specific problems, and inspect the changed frames again. Smoothing can reduce small noise, but too much can soften a deliberate stop or sharp gesture. It cannot reliably restore a body part that was never visible.
Re-record when the core action is cropped, blurred, or hidden for too long. Export and edit when the performance is useful and the remaining problem is local, such as a short foot slide or a small hand adjustment. Make the decision by the defect, not by a blanket rule that every take needs another processing pass.
5. Export and test the animation on your character
Download the available format that matches your receiving workflow. Keep an untouched copy of the source export. The file contains motion data; it should not be mistaken for a finished film, a reconstructed room, or a fully designed character.
| Format | Typical use | Check next |
|---|---|---|
| FBX | Blender, Maya, Unreal Engine, Unity, and compatible tools | Animation import, scale, axes, and rig mapping |
| BVH | Compatible skeleton-motion and research workflows | Hierarchy, rotation conventions, and importer support |
| VMD | MikuMikuDance | Model bone compatibility and contact cleanup |
| BIP | 3ds Max Character Studio Biped | A suitable Biped setup rather than an arbitrary rig |
Free currently lists FBX; other formats and presets depend on the plan and workflow. Confirm the export menu and current allowances.
Import the source motion into a clean scene and verify its duration before retargeting. Then align the source and target reference poses, map the skeleton, and check the result on your actual character. Different limb lengths can change reach and foot contact even when the original solve is reasonable.
For a game, test the clip's root movement and transitions in the engine. For a render, review the final camera as well as a side view that exposes contact errors. Reopen the delivered file to confirm that the export preserved the animation.
Need more detail? Read the video conversion and export guide or the complete video-to-animation project walkthrough.
Home mocap vs. a studio: set useful expectations
A home setup can make it easier to experiment with performances you would otherwise have to keyframe or record elsewhere. It is not automatically equivalent to a calibrated multi-camera system. Compare methods against the requirements of your shot, not a universal accuracy claim.
| Consideration | Single-camera home workflow | Dedicated capture setup |
|---|---|---|
| Preparation | Room, framing, lighting, and a suitable take | System-specific calibration, stage setup, and performer preparation |
| Observation | One recorded view can leave depth or hidden limbs ambiguous | Additional views or sensors can provide more observations, depending on the system |
| Practical advantage | Accessible tests and quick performance iteration | Controlled conditions for demanding capture requirements |
| Finishing work | Expect to inspect and refine source and target motion | Retargeting and shot-specific cleanup can still be necessary |
Do not budget on the assumption that every home take needs only a light polish. A simple gesture may transfer easily; close prop interaction, floor work, or prolonged occlusion can require much more attention. Test the hardest representative moment before committing to a full sequence.
If the movement cannot be performed safely in your room, a text-to-motion draft can be useful for exploring the idea. It generates a new action from a description; it does not capture your specific performance.
Common home mocap mistakes and practical fixes
| Problem | What to check | First adjustment |
|---|---|---|
| The body becomes a silhouette | A bright window behind the performer | Turn the setup or light from the front side. |
| Hands or feet leave the image | Framing checked only in the starting pose | Rehearse the widest pose and widen the framing. |
| Limbs look blurred | Light and exposure during the fastest frames | Improve illumination and inspect a new recording. |
| Tracking becomes uncertain when arms cross | Long overlap or clothing that hides limb boundaries | Try a clearer angle or a better-separated take. |
| The camera shifts mid-take | An unstable support or an accidental bump | Secure the device outside the movement path. |
| Feet slide only on the final character | Rig proportions, root travel, and mapping | Correct the transfer before recapturing the same source. |
| The room is too small | Travel, reach, and safety margin | Change the action or use a larger suitable space. |
Keep the successful setup repeatable
Once a take works, note the camera position, light placement, recording settings, and usable floor boundary. Save the source video, capture settings, original export, and final character clip together. These simple records help you reproduce a good session and identify what changed when a later take looks different.
Before each new action, repeat the framing test. A camera placement that worked for a bow may fail for an overhead reach. Consistency is helpful, but the movement


