What Is QuickMagic AI Motion Capture?
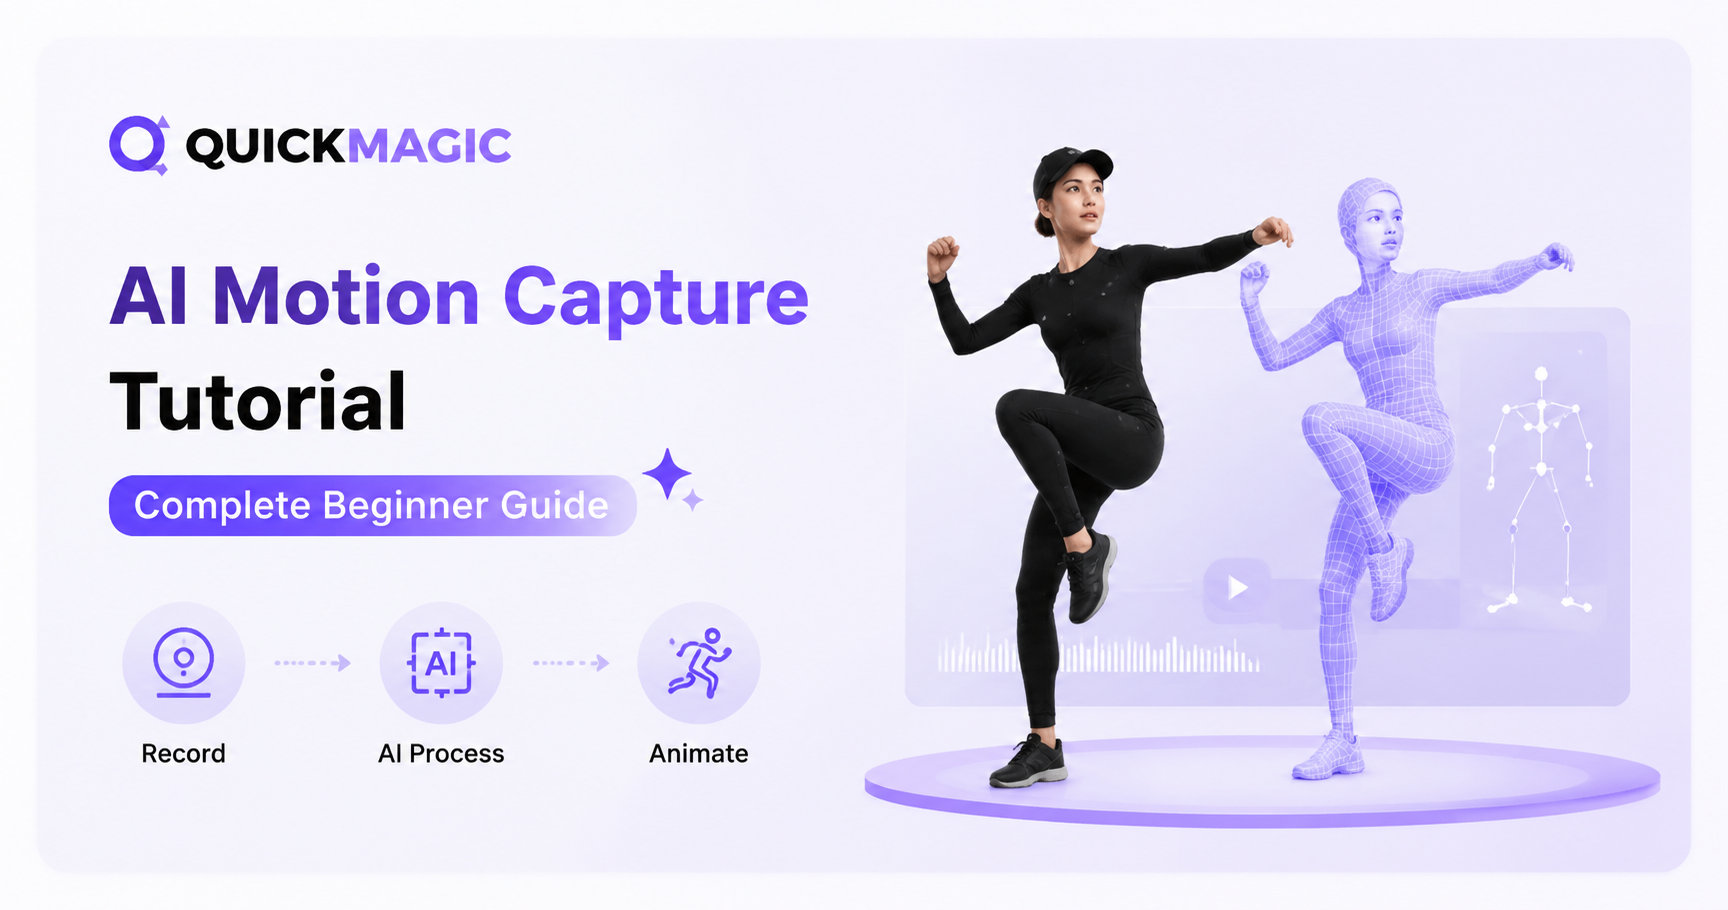
QuickMagic is a web-based AI motion capture tool that converts regular video footage into production-ready 3D animation data. Unlike traditional motion capture systems that require expensive suits, reflective markers, and optical camera arrays, QuickMagic uses advanced AI algorithms to extract human motion directly from standard video — making professional-grade markerless motion capture accessible to everyone.
Whether you're a game developer, animator, VTuber creator, MMD enthusiast, or robotics researcher, QuickMagic lets you capture body, hand, and facial motion from any video clip and export it in industry-standard formats like FBX, BVH, VMD, and more — all from your browser, with no software installation required.
Key takeaway: QuickMagic is free to start. You can upload a video, generate 3D motion data, and download the result without paying. Paid plans unlock more usage and advanced export options.
What You'll Need Before Starting
One of the best things about QuickMagic is how little you need to get started. Here's the complete checklist:
· A video clip containing human motion — dance, sports, acting, fighting, or any performance you want to capture
· Google Chrome browser (recommended for best performance)
· A QuickMagic account — sign up free at quickmagic.ai
· Permission if you're using someone else's video (always ask the performer first)
Video quality tips: For the best capture results, use a video with good lighting, a clean background, the subject's full body visible in frame, and tight-fitting clothing. Avoid videos with heavy occlusion or motion blur.
Step-by-Step Tutorial: From Video to 3D Animation
Ready to create your first 3D animation with QuickMagic? Follow these seven simple steps:
1 Prepare Your Video
Start by selecting or recording a video that clearly shows the motion you want to capture. The video should feature:
· The full body of the performer visible throughout the clip
· Good lighting so the AI can accurately detect body landmarks
· A relatively clean background — avoid cluttered or moving backgrounds
· Tight-fitting clothing on the subject for more accurate body detection
· Minimal occlusion — avoid moments where body parts are hidden behind objects
· You can use footage from a smartphone, DSLR, or any camera. Both static camera and moving camera footage are supported.
2 Upload Your Video to QuickMagic
Go to quickmagic.ai and log in to your account. Then:
1. Click "AI Mocap" from the main navigation
2. Click "Upload Video" or simply drag and drop your video file onto the page
3. Wait for the upload to complete
⚠ Important: If you are uploading a video that features someone other than yourself, please obtain permission from the performer before using it. Respect copyright and performance rights.
3 Trim and Edit Your Video
Once your video is uploaded, you can trim it to capture only the segment you need:
· Use the built-in editing tool to crop the video timeline
· Click the arrow icon on the right side of the Output Format bar to shrink the preview, making it easier to compare video clips side by side
· Adjust the start and end points until you've isolated the exact motion you want to capture
When you're satisfied with the trimmed segment, click "Output Format" to proceed.
4 Detect the Character in the Video
QuickMagic's AI will automatically detect the character (or characters) in your video. The system identifies the subject's body, limbs, and position within the frame to prepare for motion extraction.
If the video contains multiple subjects, QuickMagic supports multi-subject tracking — you can select which character(s) to capture.
5 Choose Capture Type & Export Format
This is where you tell QuickMagic exactly what kind of motion data you need:
1. Drag your preferred export format onto the detected character. Available formats include FBX, BVH, BIP, C4D, VMD, Mixamo, UE4/UE5, CC & iClone, Roblox, OnlyFace, and UniRobot
2. Select the capture type: full body, upper body (half body), hand capture, face capture, or any combination
3. Choose the starting pose: original pose, T-pose, or A-pose
4. Select camera mode: static camera or moving camera
Then click "Next Step" to continue.
6 Name Your Project & Generate Motion
Give your project a descriptive name so you can easily find it later, then click "Generate" to start the AI motion capture process.
QuickMagic's AI will analyze your video frame by frame, extracting the 3D motion data for the selected body parts. Processing time depends on the video length and the complexity of the motion, but most clips are completed within a few minutes.
7 Preview & Download Your Motion Data
Once processing is complete, you can:
· Preview the generated motion in the built-in 3D viewer to verify accuracy
· Download the motion data in your chosen export format
· Import the file directly into your preferred 3D animation software — Blender, Unreal Engine, Unity, Maya, 3ds Max, MikuMikuDance, iClone, MotionBuilder, and more
That's it! You've successfully converted a video into 3D animation data using AI motion capture — no suit, no sensors, no studio required.
Quick summary: The entire workflow — from upload to download — takes just a few minutes. No complex settings, no technical expertise needed. QuickMagic handles the heavy lifting with AI, letting you focus on creativity.
Pro Tips for Better Capture Quality
Want to get the most accurate motion data from your videos? Here are some expert tips:
Tip 1: Optimize your video before uploading
Shoot in good lighting with the subject's full body in frame. Avoid loose clothing that can confuse body detection. A plain or solid-color background helps the AI isolate the subject.
Tip 2: Choose the right capture type
Don't capture more than you need. If you only need upper-body motion for a VTuber, use half-body capture instead of full-body. It's faster and more accurate for that use case.
Tip 3: Use the right starting pose
If you're exporting to a game engine like Unreal Engine or Unity, use T-pose as the starting pose. It's the standard binding pose for most character rigs. If you're working with a custom rig, match the pose to your rig's default.
Tip 4: Trim wisely
Use the editing tool to trim your video to the exact segment you need. Shorter clips process faster and produce cleaner results because the AI has less data to interpret.
Tip 5: Try the physics-based optimization
QuickMagic offers physics-based optimization and foot IK/FK features. Enable these for cleaner foot contact, reduced foot sliding, and more natural motion. Especially important for dance and sports footage.
Tip 6: Use 2D refinement for tricky clips
If your video has occlusion or unusual angles, use the 2D refinement tool to manually adjust keyframe positions before generating the final 3D motion. This can significantly improve accuracy for difficult footage.
Who Is Using QuickMagic? (Use Cases)
QuickMagic serves a wide range of creators and industries. Here are the most common use cases:
· Game Developers — Generate character animations for Unity and Unreal Engine projects without a mocap budget
· 3D Animators — Speed up animation workflows by capturing reference motion and refining it in Blender, Maya, or 3ds Max
· VTuber Creators — Capture body and facial motion for virtual streaming avatars
· MMD Community — Create dance animations for MikuMikuDance using VMD export
· Robotics & Embodied AI — Generate human motion reference data for training humanoid robots (Unitree G1, H1, H1_2)
· Digital Content Creators — Turn dance, sports, and performance videos into shareable 3D animations
· Indie Studios — Replace expensive mocap sessions with affordable AI-powered capture
Frequently Asked Questions
Is QuickMagic AI motion capture free?
Yes. QuickMagic offers a free plan that lets you try the core AI motion capture workflow. You can upload videos and generate 3D animation data without paying. Paid plans unlock more usage, additional export formats, and advanced features like physics-based optimization.
Do I need a motion capture suit or sensors to use QuickMagic?
No. QuickMagic is a markerless AI motion capture tool. It works with regular video footage — no mocap suits, sensors, markers, or optical camera systems are required. Just upload a standard video and let the AI handle the rest.
What export formats does QuickMagic support?
QuickMagic supports FBX, BVH, BIP, C4D, VMD, Mixamo, UE4/UE5.5/UE5.6, CC & iClone, Roblox, OnlyFace, and UniRobot formats. These are compatible with Blender, Unreal Engine, Unity, Maya, 3ds Max, MikuMikuDance, iClone, MotionBuilder, and other major 3D animation tools.
What types of motion can QuickMagic capture?
QuickMagic supports full-body capture, upper-body (half-body) capture, hand capture, and facial capture. You can also combine multiple capture types in a single project. It handles dance, sports, acting, fighting, and other motion scenarios from both static and moving camera footage.
What kind of video works best for AI motion capture?
For best results, use videos with good lighting, a clean background, the full body visible in frame, tight-fitting clothing on the subject, and minimal occlusion. A static camera or smoothly moving camera produces more accurate results. Smartphone footage works great if the conditions are right.
Can I use QuickMagic for MMD and VTuber animation?
Yes. QuickMagic exports VMD format for MikuMikuDance (MMD) projects, and its facial and body capture data is widely used by VTuber creators. The tool is designed to support the creative workflows of both the MMD and VTuber communities.
Ready to Create Your First 3D Animation?
Sign up for QuickMagic and turn your first video into 3D motion data — free, no credit card required.
Conclusion & Next Steps
QuickMagic makes AI motion capture accessible to everyone. With no hardware, no software installation, and a free starting plan, you can turn any video into production-ready 3D animation data in minutes. Whether you're creating game animations, MMD dance videos, VTuber content, or robotics motion references, QuickMagic's markerless AI technology handles the heavy lifting.
Here's what to do next:
Try it yourself — Head to quickmagic.ai and upload your first video
Explore the documentation — Visit the official QuickMagic docs for advanced features like physics-based optimization, 2D refinement, and foot IK/FK
Check out more tutorials — Browse the QuickMagic Learning hub for guides on specific workflows
Join the community — Connect with other creators to share tips, tricks, and animation results in QuickMaigc discord community
No need for complex settings or expensive equipment. The whole process is convenient and efficient, giving you the power to capture professional-quality motion data from anywhere.
© 2025 QuickMagic Team. This tutorial was last updated on July 10, 2026. For the latest features and pricing, visit quickmagic.ai/Pricing.