





The short answer
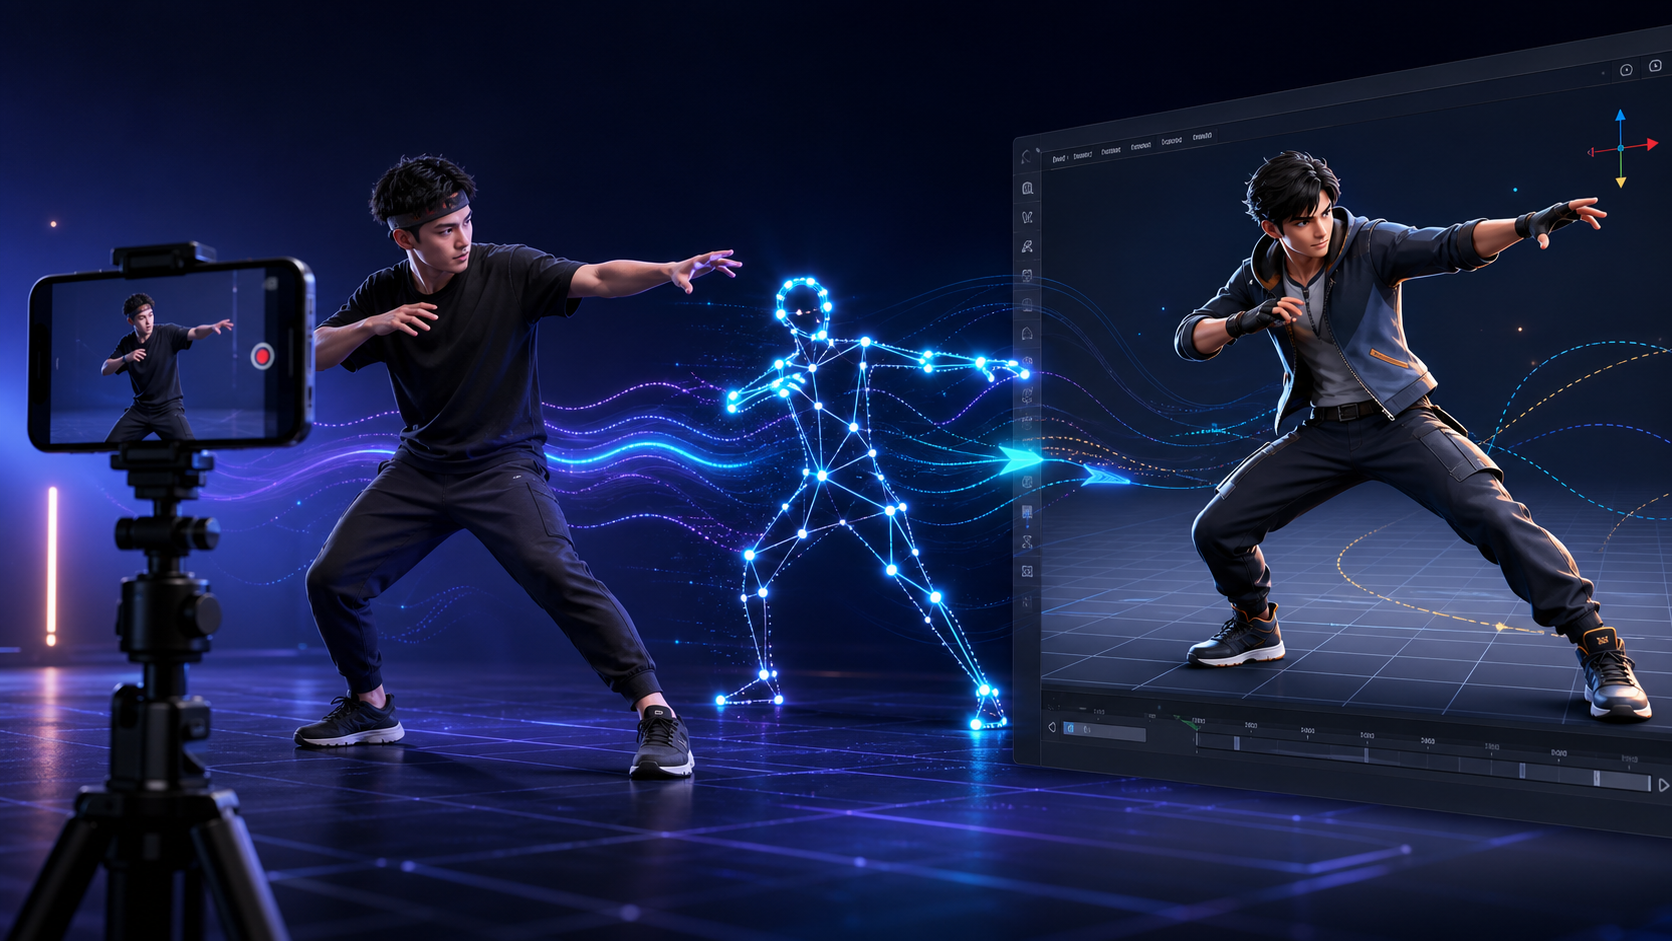
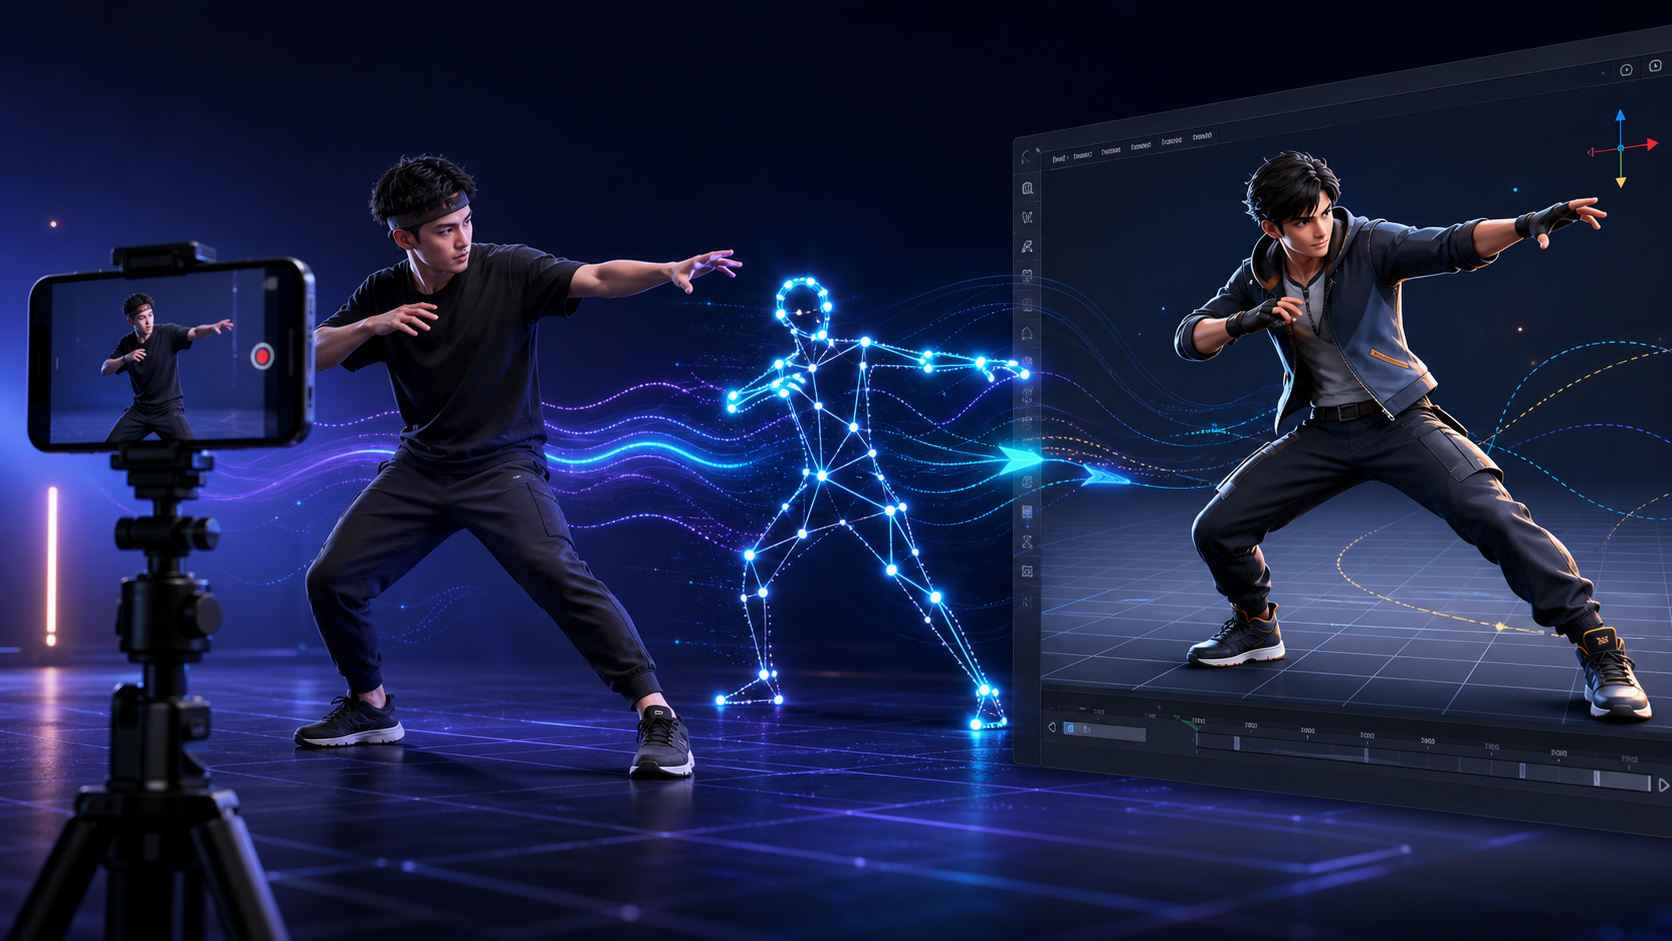
To create 3D animation with QuickMagic, record a clear full-body video, upload it to QuickMagic, choose the correct body/pose/FPS and target format, generate the AI motion, inspect and refine the tracking, export the animation, then retarget it to a rigged character in Blender, Unreal Engine, Unity, Maya, or another compatible tool. Finish by cleaning foot contacts, root motion, jitter, and intersections.
What QuickMagic does—and what you still need
QuickMagic is a markerless AI motion-capture service. It estimates body movement from ordinary video and turns it into editable 3D skeletal animation data. Current official materials also describe supported hand and facial workflows, multi-subject tracking, moving-camera footage, text-to-motion, and exports that include FBX, BVH, BIP, C4D, VMD, Mixamo and software-specific presets.
It does not replace the entire 3D pipeline. For a finished shot, you still need a rigged character, retargeting, camera and lighting, materials, scene assets, cleanup, and a renderer or game engine.
Minimum setup
- A phone, webcam, or camera capable of recording a clear video.
- A QuickMagic account and sufficient processing credits for your clip.
- A rigged 3D character.
- Blender, Maya, Unreal Engine, Unity, 3ds Max, iClone, MotionBuilder, MMD, or another compatible destination.
How to create 3D animation with QuickMagic in 7 steps
Plan the destination before you record
Decide where the motion will end up, which skeleton the character uses, whether the character should travel through space or move in place, and whether the final project runs at 24, 30, 60, or another frame rate. Choosing a matching export preset early can reduce retargeting work.
Record trackable performance footage
For a first test, use a short 5–10 second clip. Keep the entire body—especially both feet—inside the frame. Use even light, a background that contrasts with the performer, a stable camera, and clothing that keeps limbs visually distinct. Avoid heavy motion blur and long occlusions.
Upload the original video
Sign in at QuickMagic, open the video mocap workflow, and upload the highest-quality original rather than a recompressed social-media copy. Trim dead time and select the performer or capture range when the interface asks.
Choose capture and output settings
Select full-body or upper-body tracking as appropriate, then configure pose, frame rate, in-place behavior, physical optimization, and the format or target skeleton. For a neutral first test, official guidance recommends full body, Original Pose (or the pose your retargeter needs), 30 FPS, FBX, and the desired in-place setting.
Generate and inspect the motion
Run the AI solve and check it from more than one angle. Look closely at feet, pelvis/root travel, fast turns, crossed limbs, hands, head direction, floor contact, and any moment where the body is hidden. A convincing front view can still contain depth errors.
Refine, regenerate, and export
If your workflow offers 2D refinement, correct obvious joint-tracking mistakes and create a revised solve. Export FBX, BVH, or the software-specific format that best matches the destination rig. Keep the raw solve so you can compare versions.
Retarget and polish
Import the motion into your 3D tool, map the source bones to the target rig, align rest poses, and bake the result. Then fix foot sliding, clipping, root drift, hand contacts, and jitter using IK, control rigs, animation layers, curve editing, or a dedicated cleanup tool.
How to create Text to 3D Animation with QuickMagic
QuickMagic also offers a Text to Motion workflow. Instead of recording an actor, you describe an action in natural language and QuickMagic generates a mocap-style 3D motion draft that can be previewed, exported, edited, and retargeted to a rigged character.
Text-to-animation workflow
Open Text Mocap or Text to Motion
Sign in to QuickMagic and choose the text-based motion-generation workflow rather than Video Mocap.
Describe one clear action
Write the subject, action, style, direction, speed, and ending pose. Start with a single action instead of combining a long sequence of unrelated movements.
Generate and preview
Create the motion draft and inspect its timing, balance, direction, contacts, and whether the result matches the intended performance.
Refine the prompt
If the motion is too vague, change one variable at a time—such as speed, energy, direction, or final pose—then generate another version.
Export and retarget
Choose an available format or target preset, export the motion, apply it to a compatible rigged character, and polish it in your 3D application.
A useful QuickMagic text prompt formula
[Character] + [action] + [direction] + [speed or emotion] + [ending pose]. Concrete physical language usually gives the generator a clearer target than cinematic or abstract wording.
Example: “A confident humanoid character takes three quick steps forward, jumps over a low obstacle, lands on both feet, regains balance, and ends in a ready stance.”
When should you use text instead of video?
| Use Text to Motion when… | Use Video Mocap when… |
|---|---|
| You need fast motion ideas or previs. | You need to reproduce specific choreography. |
| No performer or recording space is available. | Acting nuance and exact timing matter. |
| You are prototyping game actions or background motion. | The performance involves precise interactions or contacts. |
| You want several conceptual variations quickly. | You already have a strong reference performance. |
Which QuickMagic export settings should you choose?
| Goal | Good starting choice | Why |
|---|---|---|
| Blender or general DCC workflow | FBX or BVH | FBX is broadly compatible; BVH is compact and focused on skeletal motion. |
| Unreal Engine character | Matching UE preset | A closer source skeleton can simplify IK retargeting. |
| Unity / Mixamo pipeline | Matching Unity or Mixamo preset | Reduces bone-remapping friction when the destination recognizes the hierarchy. |
| MMD character | VMD | Designed for MikuMikuDance-style motion pipelines. |
| 3ds Max Character Studio | BIP | Targets the Biped/Character Studio workflow. |
| Looping idle or treadmill action | In-place enabled | Removes or limits world-space travel for easier looping and gameplay control. |
Format availability can vary by plan and workflow, and product menus evolve. Confirm the current export list in your account before locking a production pipeline.
Watch a QuickMagic workflow
This tutorial demonstrates the broader video-to-motion process. Treat third-party interface footage as a workflow reference and confirm current labels inside QuickMagic.
When this HTML file is opened directly from disk, the video uses a clickable preview because YouTube blocks many file:// embeds with error 153. After the page is published over HTTPS, the embedded player is shown automatically. Open the tutorial on YouTube.
Common problems and practical fixes
Foot sliding
Verify character scale, pelvis/root motion, frame rate, retarget pose, and the timing of planted feet. Then add IK foot locks or key the foot controls during contact phases.
Jitter or noisy limbs
Check whether motion blur or occlusion caused tracking uncertainty. Correct the solve if possible; otherwise smooth animation curves selectively. Excessive smoothing can erase impact and timing.
Hands or limbs pass through the body
Crossed limbs and props are difficult in monocular footage. Improve visibility in the source performance, then correct intersections with animation layers or control-rig keys on the target character.
The character faces or leans the wrong way
Align the source and target rest poses before retargeting, confirm axis conventions and bone mapping, and inspect root orientation. T-pose/A-pose mismatches often show up as shoulder and arm errors.
Frequently asked questions
Can QuickMagic create a finished 3D character animation from one video?
It creates editable motion data from the recorded performance. A finished shot still requires a rigged character, retargeting, scene work, cleanup, and rendering.
Do I need a motion-capture suit or multiple cameras?
No. QuickMagic is designed for markerless, single-camera capture. Clear visibility and good footage matter more than specialized capture hardware.
Which format should I export?
Use the matching software/skeleton preset when available. Choose general FBX for broad compatibility, BVH for lightweight skeletal workflows, VMD for MMD, or BIP for 3ds Max Character Studio.
Can I use a moving camera?
Official materials list moving-camera support, but a locked-off camera remains the easiest starting point. Test complex camera moves before relying on them for a production shot.
Does raw AI mocap need cleanup?
Usually, yes—especially for production. Plan to validate feet, root travel, contacts, fast turns, occlusion, clipping and jitter after retargeting.
Start with a five-second test
Record one clear full-body action, solve it at 30 FPS, export to the correct skeleton, and complete the retarget before capturing a longer performance. A small pipeline test reveals format and rig problems early.
Open QuickMagic →

