





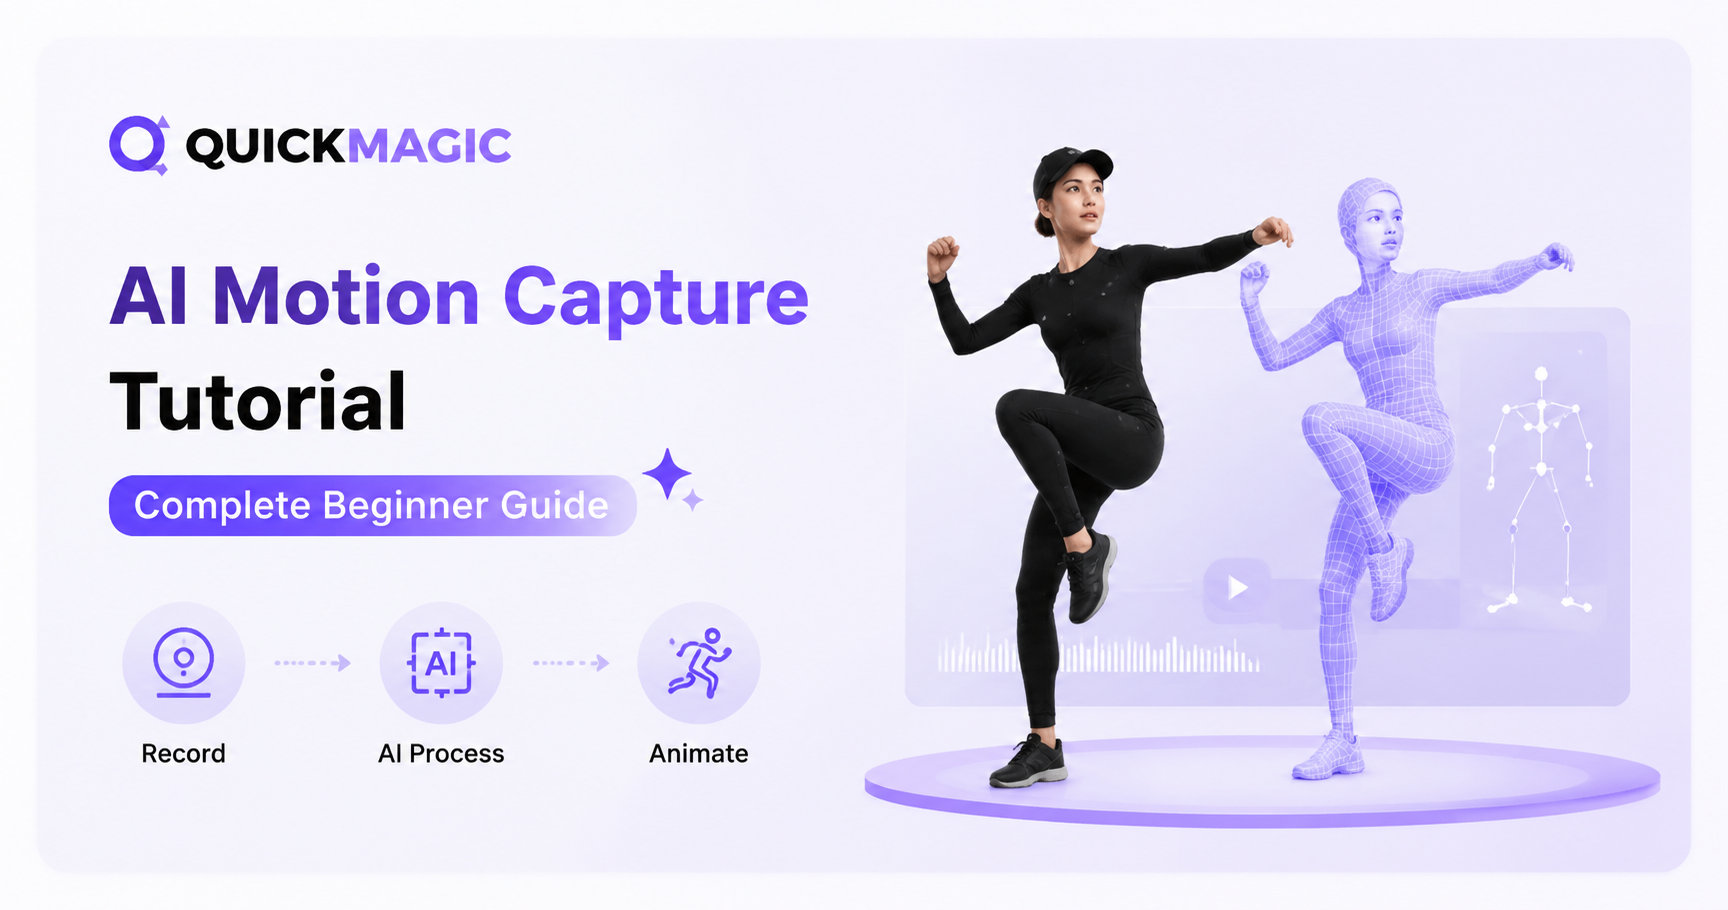
Débutant · Vidéo vers 3D · FBX · Retargeting · Plan gratuit
Tutoriel de capture de mouvement par IA : Guide pas à pas pour débutant
Transformez un enregistrement de téléphone, webcam ou caméra en animation 3D editable avec QuickMagic. Ce guide couvre la préparation de la vidéo source, le téléversement, le découpage, la sélection du sujet, la portée de capture, le modèle, la pose, la fréquence d’images, le nettoyage du mouvement, la correction, l’exportation, le retargeting et la validation finale du personnage.

Limites actuelles du plan
Vidéos du flux de travail pour débutant
Vidéo vers animation 3D MoCap — Tutoriel complet QuickMagic
Montre le flux de travail complet dans le navigateur, de la vidéo d’entrée au mouvement 3D modifiable.
Ouvrir sur YouTubeTutoriel QuickMagic Capture de mouvement IA + Mixamo + Blender
Poursuit depuis l’exportation QuickMagic jusqu’à l’utilisation du personnage dans Mixamo et Blender.
Ouvrir sur YouTubeCe dont vous avez besoin avant de commencer
- Une vidéo contenant un véritable interprète et le mouvement dont vous avez besoin.
- Un navigateur ; la documentation QuickMagic recommande Google Chrome.
- Un compte QuickMagic et suffisamment de V Coins pour le travail sélectionné.
- L’autorisation et les droits appropriés pour utiliser la vidéo de l’interprète.
- Un outil de destination ou un flux de travail de personnage pour la validation finale.

1Préparer une vidéo source traçable

Point de départ recommandé
Utilisez un seul plan continu de 5 à 15 secondes en 720p ou plus. Un clip net en 1080p/30 FPS est un bon choix par défaut. Utilisez 60 FPS pour les mouvements rapides uniquement lorsque l’éclairage garde les mains et les pieds nets et que le flux de travail final a besoin des échantillons supplémentaires.
- Gardez toutes les parties du corps nécessaires à l’intérieur d’une marge de sécurité.
- Montrez le sol lorsque le contact des pieds, les sauts ou la hauteur de la racine sont importants.
- Évitez les coupes brusques, les grands changements de zoom et les mouvements longs hors cadre.
- Utilisez des vêtements qui séparent les bras et les jambes de l’arrière-plan.
- Minimisez les longues auto-occultations, l’obstruction par les meubles et le chevauchement de plusieurs personnes.
- Téléversez des images que vous avez enregistrées ou pour lesquelles vous avez l’autorisation et les droits.
2Téléverser le fichier caméra original
- Connectez-vous à QuickMagic.
- Ouvrez AI Mocap.
- Sélectionnez Téléverser une vidéo ou faites glisser le fichier dans l’espace de travail.
- Attendez le téléversement et vérifiez la durée de l’aperçu.
Privilégiez le fichier caméra original. Les applications de messagerie et les réseaux sociaux peuvent modifier la résolution, la compression, la fréquence d’images ou les horodatages, ce qui peut rendre les mouvements rapides plus difficiles à reconstruire.
3Découper l’action utile
Utilisez l’éditeur intégré pour isoler le mouvement, mais préservez si possible un court début et une fin stables. Le contexte aide à réviser le décollage, l’atterrissage, l’identité des mains et les transitions de contact.
- Supprimez les longues sections inactives et les personnes non pertinentes.
- Ne coupez pas exactement sur une rotation rapide, un saut ou un changement de contact.
- Utilisez un court test avant d’engager des crédits sur un clip complet.
- Nommez le test avec l’action et les réglages, par exemple
saut_v1_30fps_2x.
4Détecter et sélectionner l’interprète
QuickMagic détecte les personnes dans le clip. Confirmez le bon sujet avant d’attribuer un préréglage de capture/sortie.
- Dans les images à plusieurs personnes, vérifiez le chevauchement et la continuité de l’identité.
- Évitez de sélectionner une personne qui quitte fréquemment le cadre.
- Vérifiez si la caméra est statique ou en mouvement.
- Ne considérez pas une détection réussie comme une preuve que les mains, les pieds ou la profondeur sont corrects.
5Choisir le type de capture et les réglages de sortie


Portée de capture
- Corps complet : locomotion, danse, sports, coups de pied, sauts et contact au sol.
- Haut du corps : dialogue, gestes, présentateurs, position assise et calques d’animation.
- Mains : mouvement visible des mains et des doigts ; utilisez des images de mains plus grandes.
- Visage : performance faciale claire et sans obstruction ; des images rapprochées dédiées sont plus efficaces.
Pose de référence
Sélectionnez Originale, Pose en T ou Pose en A selon la destination. Unreal, Unity et les rigs personnalisés n’utilisent pas tous la même pose de référence. Faire correspondre la cible est plus important que d’appliquer la pose en T universellement.
Format d’exportation
Le plan Gratuit actuel liste FBX. Les plans payants listent FBX ainsi qu’Unreal, Mixamo, BIP, VMD, Visage uniquement, Unity Anim, C4D, CC et iClone et Roblox. D’autres pages produit peuvent mentionner des flux de travail supplémentaires ; utilisez l’interface d’exportation actuelle comme source de vérité finale.
6Nommer le projet, générer et réviser
Utilisez un nom descriptif contenant l’action et les réglages clés, puis générez le mouvement. Le temps de traitement varie en fonction de la longueur de la vidéo, de la résolution, des fonctionnalités sélectionnées, de la charge de la file d’attente et de la priorité du plan.
Réviser le squelette source
- Les membres gauche et droit conservent-ils leur identité ?
- Le bassin/la racine suivent-ils l’interprète ?
- Le décollage, l’atterrissage, les impacts et l’inclinaison du corps sont-ils préservés ?
- Les pieds au sol ont-ils une vitesse et un contact plausibles ?
- Les mains et le visage contiennent-ils suffisamment de détails utiles pour la portée sélectionnée ?
Utiliser l’optimisation physique avec prudence
Commencez par une faible valeur d’itération pour préserver l’amplitude du mouvement. Des réglages plus élevés peuvent améliorer la stabilité mais peuvent adoucir les sauts, les impacts, la foulée et le timing expressif.
Utiliser le raffinement 2D pour les erreurs observables
Sur les plans payants pris en charge, le raffinement 2D peut corriger une articulation mal détectée ou un contact de pied avant la régénération. Ce n’est pas un remplacement pour le mappage du rig cible, le skinning ou le contact scénique.
7Exporter, retargetter et valider

- Téléchargez le mouvement source disponible et conservez une copie non modifiée.
- Importez avec le bon axe, la bonne échelle et la bonne fréquence d’images.
- Faites correspondre la pose en T ou en A source et cible.
- Mappez la racine, le bassin, la colonne vertébrale, les membres et éventuellement les mains/visage.
- Vérifiez la durée en secondes, le déplacement de la racine et la foulée cible.
- Corrigez les pieds, les mains, les accessoires, le terrain et les courbes locales bruyantes.
- Réimportez le fichier final dans une scène propre et validez-le à nouveau.
Guide de dépannage pour débutant

| Problème | Couche probable | Première action recommandée |
|---|---|---|
| Les mains ou les pieds disparaissent | Vidéo source | Utilisez des images plus larges, plus nettes et avec plus de visibilité |
| Plier du genou ou du coude incorrect | Résolution source | Corrigez l’articulation visible avec le raffinement 2D ou comparez les modèles |
| Le mouvement semble faible | Source/physique | Abaissez l’itération physique et vérifiez le flou |
| Les épaules se lèvent après l’importation | Retargeting | Corrigez la pose T/A et le mappage clavicule/bras |
| Les pieds glissent sur la cible | Retarget/cible | Faites correspondre la vitesse de la racine et la foulée, puis appliquez l’IK de pied ancré |
| Le personnage se traverse lui-même | Personnage cible | Révisez les limites articulaires, les poids de skin et les formes correctives |
| L’animation joue trop vite/lentement | Timing d’importation | Vérifiez la durée en secondes et les réglages de taux d’échantillonnage |
| L’option d’exportation est manquante | Plan/flux de travail | Vérifiez la page de tarification actuelle et le menu d’exportation actif |
Liste de contrôle rapide pour débutant
- La source est un clip continu, net et légalement utilisable.
- Le cadrage correspond à la capture Corps complet, Haut du corps, Main ou Visage.
- Le clip reste dans les limites actu


