





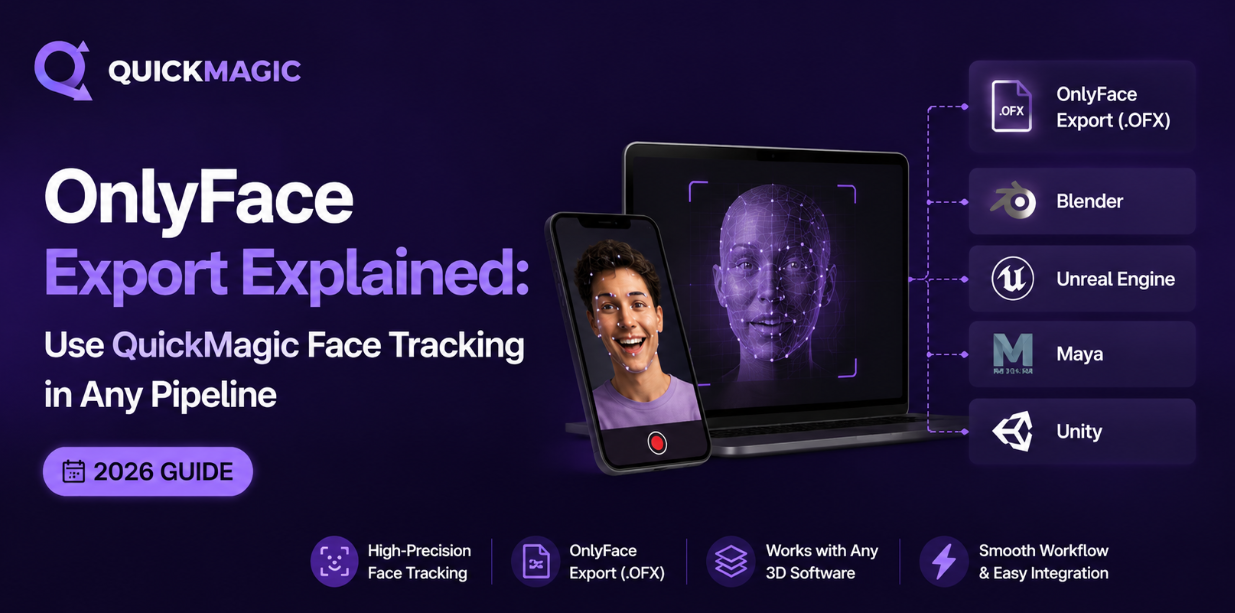
OnlyFace Export Explained: Use QuickMagic Face Tracking in Any Pipeline
Bottom Line Up Front
QuickMagic's OnlyFace export is a specialized output format that extracts facial mocap as a standalone FBX file — stripped of body and hand data — containing 52 ARKit-compatible blendshape channels. You can drop this lightweight FBX into Blender, Unreal Engine, Unity, Maya, 3ds Max, iClone, or any DCC tool that reads blend shape data. This decouples your face tracking from everything else: use QuickMagic for the face, another tool for the body, and mix them freely. It's the most flexible way to integrate AI face tracking into a production-grade animation pipeline without vendor lock-in.
What Is OnlyFace Export?
QuickMagic supports 13+ export formats — FBX, BVH, BIP, C4D, VMD, Mixamo, UE4/5 presets, Roblox, UniRobot, and more. Among them, OnlyFace is unique: unlike the standard FBX export that bundles body skeleton, hand joints, and facial blendshapes into a single monolithic file, OnlyFace outputs exclusively the facial animation data.
This might sound like you're getting less data — but for many production workflows, it's exactly what you need. Here's why:
The Problem OnlyFace Solves
In a traditional mocap pipeline, face and body are often captured separately or from different sources. A game studio might use QuickMagic for body mocap but want high-fidelity iPhone TrueDepth face capture for close-ups. A VTube artist might hand-animate body movements but use AI face tracking for expressions. An indie developer might buy body animation packs but need custom facial performances.
In all these cases, a monolithic FBX that bundles everything together creates friction:
- You have to strip out unwanted data manually
- File sizes balloon (30–80 MB vs 1–5 MB for face-only)
- Conflicting skeleton hierarchies cause import errors
- You can't easily mix QuickMagic faces with other body sources
OnlyFace eliminates all of that. It gives you a clean, purpose-built facial mocap FBX that drops into any pipeline as a dedicated face animation layer.
What's Inside an OnlyFace FBX File
When you export OnlyFace from QuickMagic, you get a single FBX file containing:
| Component | Description |
|---|---|
| Head Mesh | A simplified neutral-pose head mesh (used as the blend shape carrier). This is NOT your final character — it's the data vehicle. |
| 52 ARKit Blendshapes | Per-frame weight values (0.0–1.0) for the full Apple ARKit blendshape set, including eye blinks (eyeBlinkLeft/Right), brows (browDownLeft/Right, browInnerUp), mouth (mouthSmile, mouthFrown, jawOpen, mouthPucker), cheeks (cheekSquint), nose (noseSneer), and tongue (tongueOut). |
| Frame Timing | Animation keyframes at your chosen FPS (24, 30, 60, or 120), synced to the original video timing. |
| (Optional) Audio Sync | If your source video includes audio, QuickMagic preserves timing alignment so blendshape keyframes match dialogue and vocal performance beats. |
OnlyFace vs Standard FBX vs Other Face Tracking Exports
To understand where OnlyFace fits, let's compare it with the alternatives:
| Feature | QuickMagic Standard FBX | QuickMagic OnlyFace | iFacialMocap FBX | Live Link Face |
|---|---|---|---|---|
| Contains body skeleton? | Yes (full hierarchy) | No | No | No |
| Contains hand joints? | Yes | No | No | No |
| Facial blendshapes | 52 ARKit | 52 ARKit | 52 ARKit | 52 ARKit (streaming) |
| Typical file size | 30–80 MB | 1–5 MB | 0.5–3 MB | Real-time stream (no file) |
| Input method | Pre-recorded video (any camera) | Pre-recorded video (any camera) | iPhone TrueDepth (live) | iPhone TrueDepth (live) |
| Hardware required | Any camera/phone | Any camera/phone | iPhone X+ only | iPhone X+ only |
| Pipeline flexibility | Moderate (monolithic) | High (modular) | High | High (but live-only) |
| Best for | Full-body + face + hands, single export | Face-only workflows, mixed pipelines | High-fidelity live iPhone capture | Unreal Engine live sessions |
When to Use OnlyFace
- You already have body animation from another source
- You're adding facial expressions to purchased animation packs
- You need tiny file sizes for web/cloud storage
- Your character has an ARKit-compatible face rig
- You want to batch-export face data from multiple videos
When NOT to Use OnlyFace
- You need body, hands, and face in one export (use Standard FBX)
- Your target character has a non-ARKit face rig (may need remapping)
- You need the full skeleton hierarchy for retargeting
- You're doing real-time live performance (streaming not supported)
How to Export OnlyFace from QuickMagic (Step by Step)
Importing OnlyFace FBX Into Your Pipeline
The OnlyFace FBX follows the standard ARKit blendshape convention, so import is straightforward in every major tool. Here's how to get it working in the most common pipelines:
Blender
Go to File → Import → FBX and select your OnlyFace FBX. Blender imports the head mesh with Shape Keys already set up. You'll see 52 shape keys in the Object Data Properties panel, each with keyframed values on the timeline. To transfer these shape keys to your own character: (1) Select the source (OnlyFace head) then your target character mesh, (2) Use Blender's built-in Shape Key Transfer (Object Data → Shape Keys → "Transfer Shape Key" with matching names), (3) The animation curves will be copied to your character's identical blendshape names.
Unreal Engine 5 (Including MetaHuman)
Import the OnlyFace FBX through Unreal's Content Browser (drag & drop or Import button). When importing, make sure "Import Morph Targets" is checked in the FBX Import Options — this is what brings in the blendshape animation data. The imported asset will have a Skeletal Mesh with morph targets corresponding to each ARKit blendshape.
For MetaHuman specifically: MetaHuman's face is driven by animation curves, not direct morph targets. The standard workflow is: (1) Import your OnlyFace FBX into a temporary Skeletal Mesh, (2) Create an Animation Blueprint that reads the morph target values, (3) Use a Curve Remap node to convert each ARKit blendshape value into the corresponding MetaHuman animation curve, (4) Apply the Animation Blueprint to your MetaHuman's Face component. Epic's documentation covers this ARKit-to-Curve remapping in detail.
Unity
Drag the OnlyFace FBX into your Unity project's Assets folder. Unity recognizes the blendshapes as BlendShapes on the SkinnedMeshRenderer component. You can access them programmatically:
// Get the SkinnedMeshRenderer from your character
SkinnedMeshRenderer smr = GetComponent<SkinnedMeshRenderer>();

// Set a blend shape weight (e.g., mouthSmile at 0.8)
int index = smr.sharedMesh.GetBlendShapeIndex("mouthSmile");
smr.SetBlendShapeWeight(index, 80f); // 0–100 range

// Or play back the full animation:
// Import the FBX animation clip and use an Animator controller
// The blend shape keys will animate automatically
The animation clip embedded in the FBX automatically drives all 52 blendshapes — just create an Animator Controller, assign the clip, and Unity handles the rest.
Maya
Use File → Import and select the OnlyFace FBX. Maya creates a mesh with Blend Shape Deformers corresponding to each ARKit shape. The animation is stored as keyframes on each blend shape weight attribute. To transfer to your own rig: (1) Import your character mesh, (2) Select the OnlyFace mesh, then Shift-select your character, (3) Use Deform → Blend Shape → Add with "Target Shape Options → In-Between" unchecked, (4) If blend shape names match, Maya auto-connects them. For more details, see our Maya integration guide.
iClone / Character Creator
iClone and Character Creator (CC) have excellent ARKit blend shape support baked into their standard character rigs. Import the OnlyFace FBX through File → Import → FBX. If your CC character has "Facial Profile" enabled (it does by default for CC4 characters), iClone automatically maps the ARKit blendshape names to its internal expression system. The facial animation appears on your character's face immediately — no manual mapping needed.
Three Real-World OnlyFace Workflows
Workflow 1: Mixamo Body + QuickMagic Face
This is one of the most popular workflows among indie developers. You grab a Mixamo body animation (free, production-ready), then layer QuickMagic face tracking on top:
- Download a Mixamo animation (walk, run, idle, combat, etc.) as FBX
- Import into Blender/Unreal — this gives you the body motion
- Record your facial performance video and process in QuickMagic
- Export OnlyFace FBX and import into the same project
- Your character now has Mixamo body + QuickMagic face, independent and combinable
Workflow 2: Full Custom Pipeline (Different Tools for Different Tasks)
A more advanced setup where each part of the animation comes from the best tool for that job:
- Body mocap: QuickMagic Standard FBX (or any other body capture tool)
- Hand animation: QuickMagic hand tracking (included in Standard FBX) or manual keyframing
- Face animation: QuickMagic OnlyFace export — processed and polished independently
- Combine all three layers in your DCC tool or game engine using animation layering
Workflow 3: Batch Face Processing for Dialogue
If you're making a dialogue-heavy game or animated series, you can batch-process face capture:
- Record one video per dialogue line (or per character)
- Upload all videos to QuickMagic and enable facial capture for each
- Export each as OnlyFace FBX, named by line/character ID
- Import all FBX files into your engine as face animation clips
- Trigger the appropriate clip at runtime based on dialogue events
This modular approach saves enormous pipeline complexity compared to managing monolithic full-body exports for every dialogue line.
Getting the Best Facial Mocap Quality for OnlyFace Export
Since OnlyFace strips everything except facial data, the quality of your face tracking export depends entirely on what QuickMagic's AI can see. Follow these guidelines for optimal results:
| Factor | Best Practice | Why It Matters |
|---|---|---|
| Resolution | 1080p minimum; 4K recommended for fine micro-expressions | More pixels = more facial detail for the AI to read. At 720p, subtle brow movements and lip compression get lost. |
| Lighting | Soft, even frontal lighting; avoid harsh shadows across the face | Deep shadows under brows or nose confuse landmark detection. Ring lights or softboxes work best. |
| Camera Distance | Head and shoulders framing; face should occupy ~40–60% of frame width | Too far = low face resolution. Too close = distortion from wide-angle lenses can skew landmark positions. |
| Head Movement | Keep within ~45 degrees of frontal; avoid profile shots | The AI tracks best when both eyes, nose, and mouth are visible. Full profile shots lose one eye and create ambiguous landmark positions. |
| Occlusion | Keep hands, hair, props, and clothing away from the face | Anything covering facial features — even briefly — causes tracking dropouts that produce jittery or missing blendshape frames. |
| Stability | Tripod or stable surface; minimize camera shake | Camera motion introduces false facial movement signals. A stable camera lets the AI isolate true expressions from background movement. |
| Background | Plain, uncluttered background (solid wall, backdrop) | Busy backgrounds can confuse the face detection model, especially if they contain face-like patterns or moving elements. |
For a deeper dive into capture quality across all mocap types, read our full guide on Facial Motion Capture from Video.
Troubleshooting Common OnlyFace Export Issues
| Problem | Likely Cause | Fix |
|---|---|---|
| Blendshapes import but don't animate | Animation clip wasn't imported with the FBX | In Blender: check the Action Editor — the animation may be on a separate action. In Unreal: make sure "Import Animation" was checked during FBX import. |
| Face looks frozen or expressionless | All blend shape weights are at 0.0 | Check that the Face Capture option was enabled during processing. Re-process the video with facial tracking explicitly turned on. |
| Eyeblinks are jittery / stutter | Low frame rate video or motion blur | Shoot at 60 FPS to capture fast eye movements. Avoid motion blur from low shutter speed. In post: apply a gentle smooth filter to the eyeBlinkLeft/Right animation curves. |
| Mouth shapes don't match dialogue | Audio-video sync drift or low jaw visibility | Ensure your audio is in sync with the video. Keep your mouth clearly visible — don't mumble or cover your mouth while speaking. |
| Blend shape names don't match my |


