





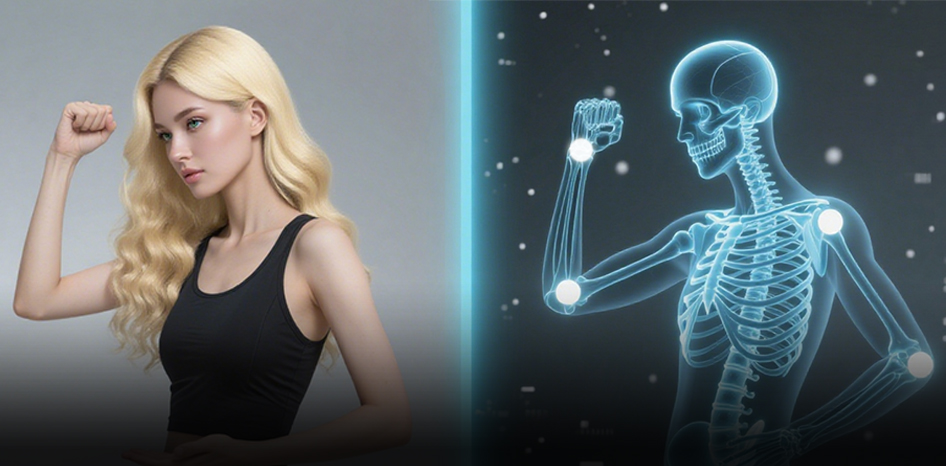
Parte superiore del corpo · Tronco · Testa · Braccia · Strati di animazione
Cattura del movimento AI per metà corpo: guida all'algoritmo per la parte superiore del corpo di QuickMagic
Registra performance accurate dalla vita in su, utilizza video a corpo intero quando conveniente, seleziona la posa del primo fotogramma e il modello corretti, correggi gli errori di inclinazione del busto e di rotazione della testa, retargetizza il risultato e combinalo con la locomozione della parte inferiore del corpo in Blender, Maya, Unreal Engine o Unity.

Cosa ha cambiato l'aggiornamento dell'algoritmo

Risultato prima e dopo originale

Tutorial per la cattura e l'esportazione di metà corpo
Tracciamento di Corpo Intero, Metà Corpo e Viso di QuickMagic in Blender
Confronta il tracciamento a corpo intero, a metà corpo e facciale all'interno di un flusso di lavoro pratico in Blender.
Apri su YouTubeTutorial AI MoCap di QuickMagic — Blender, Unity e Mixamo
Mostra la cattura di QuickMagic e l'utilizzo a valle in Blender, Unity e Mixamo.
Apri su YouTubeScegli l'ambito di cattura corretto

| Ambito | Usalo per | Non aspettarti |
|---|---|---|
| Corpo Intero | Camminare, correre, calci, salti, lavoro a terra, contatti dei piedi e movimento radice | Dettagli facciali ravvicinati da un'inquadratura ampia e distante |
| Parte Superiore del Corpo | Dialoghi, gesti, presentatori, recitazione seduta, mira, trasporto e strati della parte superiore del corpo | Locomozione affidabile della parte inferiore del corpo o appoggio dei piedi da un ritaglio dalla vita in su |
| Viso / Mani | Performance facciale dedicata, movimento delle dita o interazione ravvicinata | Equilibrio di tutto il corpo e traiettoria radice |
Migliori applicazioni per il mocap AI di metà corpo
- Avatar parlanti e presentatori digitali
- Scene di dialogo e recitazione cinematografica
- Librerie di gesti per VTuber e live streaming
- Animazione per scrivania, podcast e interviste sedute
- Strati di mira, ricarica, trasporto e interazione con armi
- Emote del personaggio utilizzate su cicli di idle, camminata o corsa
- Produzione di video social e influencer virtuali
- Blocco dell'animazione quando il movimento della parte inferiore del corpo è fornito separatamente
1Registra una performance della parte superiore del corpo tracciabile

- Inquadra dai fianchi o dalla vita fino sopra la testa.
- Tieni entrambe le mani all'interno dell'inquadratura durante ogni gesto.
- Lascia più margine orizzontale rispetto a un ritaglio convenzionale per testa parlante.
- Utilizza una videocamera stabile all'incirca all'altezza degli occhi o del petto come punto di partenza.
- Usa illuminazione uniforme e una velocità dell'otturatore sufficiente per mantenere nitide mani e testa.
- Inizia con uno o due secondi di una posa neutra e leggibile.
- Evita lunghi periodi di occlusione mano-viso e incroci ripetuti delle braccia.
- Carica il file originale della videocamera piuttosto che una ricompressione da app di messaggistica.
30 FPS o 60 FPS?
Utilizza 30 FPS per la maggior parte dei dialoghi e dei gesti controllati. Utilizza 60 FPS per movimenti rapidi di mani o armi solo quando la sorgente è abbastanza luminosa da rimanere nitida e il piano attivo e la destinazione supportano l'output desiderato.
2Seleziona le impostazioni di QuickMagic
- Carica la sorgente e scegli il soggetto desiderato.
- Seleziona Parte Superiore del Corpo o l'etichetta equivalente per l'ambito di cattura corrente.
- Scegli una posa del primo fotogramma compatibile con il flusso di lavoro di destinazione.
- Utilizza V1.0 per dialoghi standard e movimenti gestuali.
- Testa V2.0 Beta solo quando la performance contiene forti inclinazioni, dinamiche insolite o brevi occlusioni.
- Inizia l'Ottimizzazione Fisica con un valore basso in modo che l'ampiezza del gesto venga preservata.
- Seleziona lo scheletro di destinazione/il preset di esportazione e il frame rate.
- Utilizza le impostazioni in-place/radice deliberatamente; gli strati della parte superiore del corpo di solito non necessitano di movimento globale.
3Rivedi e correggi il movimento generato
Ispeziona l'anteprima a velocità normale e fotogramma per fotogramma:
- L'inclinazione del petto corrisponde a quella dell'esecutore piuttosto che al movimento del braccio?
- La testa guarda in alto, in basso e ruota senza scatti?
- Le spalle rimangono livellate quando dovrebbero?
- Gomiti e polsi rimangono sul lato corretto?
- Le mani incrociate mantengono la loro identità?
- Una sorgente a corpo intero produce un output stabile per la parte superiore del corpo?
Utilizza il Miglioramento 2D sui piani a pagamento supportati quando i punti chiave visibili sottostanti sono errati. Correggi le osservazioni errate della sorgente prima di cercare di nascondere il problema con un ampio smoothing delle curve.
4Retargetizza sul personaggio di produzione
- Importa la sorgente di QuickMagic con il frame rate e l'orientamento corretti.
- Abbina la T-pose o A-pose della sorgente e della destinazione.
- Mappa bacino/radice, colonna vertebrale, petto, collo, testa, clavicole, braccia e mani.
- Decidi se il bacino deve provenire dalla clip della parte superiore del corpo o dalla locomozione di base.
- Convalida le differenze di larghezza delle spalle e lunghezza delle braccia.
- Correggi i contatti polso/prop sulla destinazione finale.
- Cuoci solo dopo che la sorgente e il risultato stratificato sono approvati.
Combina il mocap della parte superiore del corpo con la locomozione della parte inferiore

| Software | Metodo di layering consigliato | Utilizzo tipico |
|---|---|---|
| Unreal Engine | Layered Blend Per Bone, Blend Mask o Slot per Parte Superiore del Corpo | Ricarica, mira, gesto o dialogo su locomozione di gioco |
| Unity | Avatar Mask con livello Animator o override Timeline | Trasportare, salutare, festeggiare o interagire mentre si cammina |
| Maya | Animation Layers o clip layer di Time Editor | Miscela e correggi le chiavi senza sovrascrivere il movimento di base |
| Blender | NLA track più controllo osso/canale specifico del rig | Sequenzia le azioni e crea compositi parte-superiore-su-locomozione |
Scegli il confine dello strato
Uno strato solo sul petto preserva più equilibrio della parte inferiore del corpo dalla locomozione. Uno strato dal bacino in su cattura più recitazione e inclinazione del corpo ma può entrare in conflitto con il ciclo di camminata. Testa entrambi e miscela attorno alla colonna vertebrale inferiore.
Problemi comuni nella cattura della parte superiore del corpo
| Problema | Causa probabile | Correzione consigliata |
|---|---|---|
| Falsa inclinazione in avanti/indietro | Accoppiamento braccio-busto, ritaglio o fianchi poco chiari | Includi fianchi/vita, riduci l'occlusione e usa la modalità parte superiore del corpo aggiornata |
| La testa si inclina o scatta verso l'alto | Sfocatura del viso, occlusione capelli/mano o angolo estremo | Migliora l'illuminazione, tieni il viso visibile e correggi il punto chiave della sorgente |
| Il movimento ampio delle braccia deforma il petto | Ambiguità della spalla o braccia che incrociano il busto | Usa contrasto, vista di tre quarti e maggiore distanza tra le mani |
| Le mani escono dall'inquadratura | Il ritaglio in stile ritratto è troppo stretto | Aggiungi margine di sicurezza orizzontale o registra una ripresa più ampia |
| Le spalle si alzano dopo il retargeting | Discrepanza nella T/A-pose o nella mappatura della clavicola | Correggi la posa di retargeting e le catene delle spalle |
| Lo strato della parte superiore del corpo torce il bacino | Lo strato inizia troppo in basso o include curve radice indesiderate | Maschera il bacino/radice o sposta il confine di miscelazione alla colonna vertebrale |
| L'animazione della camminata scompare | La clip della parte superiore del corpo sovrascrive l'intero scheletro | Usa una maschera per osso, Avatar Mask o slot per parte superiore del corpo |
| Mancano dettagli a viso o dita | Pixel insufficienti o modalità di cattura dedicata | Registra una ripresa ravvicinata di viso/mano e combina i risultati |
Checklist di produzione
- La parte inferiore del corpo è intenzionalmente esclusa, non accidentalmente tagliata.
- Fianchi/vita, busto, testa ed entrambe le mani rimangono visibili.
- Il gesto più ampio rientra in un margine di sicurezza orizzontale.
- La sfocatura da movimento è sufficient


