


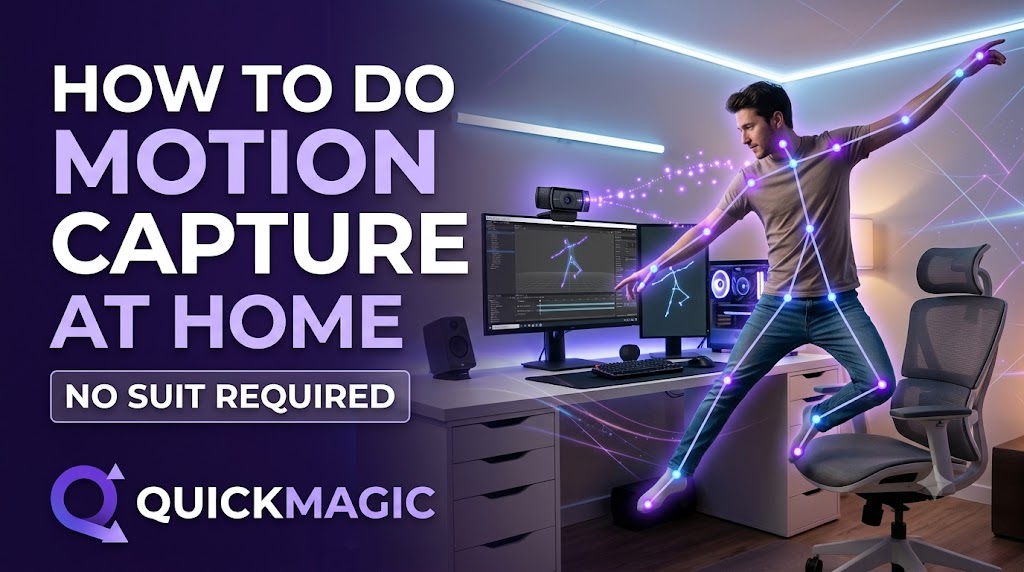
Phone Video · Markerless MoCap · Retargeting · No Suit
How to Do Motion Capture at Home: No Suit or Markers Required
Turn a phone, webcam or camera recording into editable 3D character motion with QuickMagic. This guide covers safe room setup, camera framing, source quality, QuickMagic settings, 2D correction, export, retargeting and final foot, hand and curve cleanup.
Current QuickMagic home-mocap facts
Home capture and Blender workflow videos
Stable Full-Body Animation from Footage with QuickMagic
Demonstrates source-footage choices and a stable full-body markerless result.
Open on YouTubeQuickMagic AI Motion Capture + Mixamo + Blender Tutorial
Shows a practical beginner pipeline from QuickMagic through Mixamo and Blender.
Open on YouTubeWhat “no suit required” actually means
Traditional optical motion capture identifies reflective markers seen by synchronized cameras. Markerless AI motion capture estimates body movement directly from visible pixels in ordinary footage and converts it into skeletal animation.
Removing the suit makes capture accessible, but the result is still an estimate. Body parts outside the frame, severe blur, long occlusion, loose clothing and complex interaction can create ambiguity. Production quality depends on both source footage and downstream rigging.
Minimum equipment for home motion capture
| Item | Minimum | Better practice |
|---|---|---|
| Camera | Modern smartphone, webcam or camera | Use the device that produces the sharpest, least compressed footage |
| Support | Stable shelf or furniture | Tripod with a level camera |
| Light | Enough exposure to see limbs | Bright diffuse light that supports a faster shutter |
| Space | Complete action fits safely | Extra safety and framing margin around the entire path |
| Computer | Browser and internet connection | DCC or engine installed for retargeting and validation |
1Prepare a safe recording area
- Remove chairs, tables, cables, pets and fragile objects from the action area.
- Confirm the floor is dry, level and suitable for the movement.
- Use a spotter for movement with falls, jumps, props or limited visibility.
- Do not imitate dangerous stunts or combat moves in a small room.
- Keep the camera outside the performer's travel path.
- Test the complete action slowly before recording at performance speed.
2Choose the capture scope before framing
| Final animation | Recommended source framing | Key visibility |
|---|---|---|
| Walk, run, dance, fight or jump | Full body with travel margin | Head, hands, feet, ground and complete trajectory |
| Dialogue, presenter or seated gesture | Hips/waist to above head | Torso reference, shoulders, head and hands |
| Facial performance | Dedicated face close-up | Brows, eyes, cheeks, lips and chin |
| Finger/hand performance | Closer hand-focused capture | Finger separation, wrist and object contact |
3Record a trackable source video
- Use landscape orientation for most full-body actions.
- Keep every required joint inside a safety margin for the entire take.
- Use bright light and a fast enough shutter to keep limbs sharp.
- Choose clothing that contrasts with the background and reveals limb direction.
- Avoid long crossed-limb positions and unnecessary furniture occlusion.
- Begin and end with stable, visible poses when practical.
- Record several short takes rather than one long difficult take.
- Upload the original camera file instead of a social-media recompression.
1080p, 4K, 30 FPS or 60 FPS?
1080p/30 FPS is a practical starting point for ordinary movement. Use 60 FPS for fast action when there is enough light to avoid blur. 4K helps only when the performer occupies useful pixels and the upload remains within the plan’s file-size limit.
4Upload and configure QuickMagic
- Upload the original source and select the intended subject.
- Choose Full Body, Upper Body, hand or face capture as required.
- Use V1.0 for general movement and V2.0 Beta for supported complex dynamic action.
- Choose Original, T-Pose or A-Pose for the destination retargeter.
- Select 24, 30, 60 or 120 FPS only when available and justified by the pipeline.
- Start Physics Optimization at a low multiplier to preserve motion energy.
- Choose traveling or in-place root motion deliberately.
- Select the closest target skeleton or software preset.
5Review the source motion before export
Check the preview at normal speed and frame by frame:
- Do feet and hands remain assigned to the correct side?
- Does the pelvis follow the performer rather than drifting?
- Are jumps, impacts and body lean preserved?
- Do hidden limbs reconnect plausibly after occlusion?
- Do head, hand and facial channels match the required scope?
Paid plans currently list 2D Refinement. Use it to correct visibly wrong source keypoints or contact labels, then regenerate. Do not use smoothing to conceal a wrong left/right identity or cropped foot.
6Export and retarget to the production character
The current Free plan lists FBX. Starter and Professional list FBX plus multiple software-oriented formats and presets. QuickMagic’s broader product pages also describe BVH and other exports; because availability can vary by plan and workflow, the active export menu is the final source of truth.
- Preserve an untouched QuickMagic source export.
- Import the motion with the correct frame rate, axis and scale.
- Match source and target T-Pose or A-Pose.
- Map root, pelvis, spine, limbs and optional hands/face correctly.
- Retarget to the real production character.
- Check duration in seconds, root travel and target stride.
7Finish contacts and curves
| Problem | Fix first | Final target fix |
|---|---|---|
| Foot sliding | Source contact and root trajectory | Match target stride, then use timed foot IK |
| Floating or sinking | Source ground/root reference | Align floor, root height and pelvis |
| Jitter | Blur, occlusion and source correction | Smooth only affected bones and intervals |
| Mesh clipping | Impossible source pose or mapping | Joint limits, skin weights and corrective shapes |
| Prop interaction | Visible source hand/object relationship | Hand IK, constraints and animation layers |
Reimport the final export into a clean scene or project and verify that timing, contacts, root motion and mesh deformation survive the complete pipeline.
Text-to-motion is useful—but it is not motion capture
Use video when exact choreography, acting or timing matters. Use text when no performer or safe recording space is available, or when the goal is concepting and previsualization.
Original article media
Common home mocap problems
| Problem | Likely cause | Recommended fix |
|---|---|---|
| Hands or feet disappear | Tight crop or fast movement | Record wider, add light and keep a safety margin |
| Body twists when limbs cross | Occlusion and silhouette ambiguity | Use a three-quarter view, contrasting clothing or another take |
| Motion feels soft | High Physics Optimization or blurred source | Lower the multiplier and improve shutter/light |
| Animation plays too fast/slow | Scene or import FPS mismatch | Verify duration in seconds and import sample-rate settings |
| Feet slide after retargeting | Target leg length and root speed differ | Fix stride/root first, then use planted-foot IK |
| Export format is missing | Plan or workflow entitlement | Use the current export menu and pricing table as the source of truth |
| Video exceeds upload limit | 4K/60 file too large | Trim the take or create a high-quality, supported mezzanine file |
| Room is too small | Action requires more travel or safety margin | Change the action, use a larger safe location or use text-to-motion for previs |
Home mocap checklist
- The movement is safe for the available room.
- The complete action remains inside the frame.
- The performer is sharp, well lit and separated from the background.
- Capture scope matches the final animation.
- QuickMagic model, pose, FPS, root and preset are recorded.
- Visible source errors are corrected before export.
- An untouched QuickMagic source file is preserved.
- The target reference pose and skeleton mapping are verified.
- Feet, hands, props and terrain contacts are corrected on the target.
- The final export is reimported and validated.
Frequently asked questions
Do I need a mocap suit?
No. QuickMagic uses ordinary video and does not require a marker suit, body sensors or a multi-camera studio.
Can I use a normal smartphone?
Yes. Prioritize sharpness, framing, lighting and visibility rather than the phone model alone.
How much space do I need?
Enough space for the complete action and a safety margin. The answer depends on whether the motion is a gesture, dance, walk, jump or fight movement.
Which formats can I export?
Free currently lists FBX. Other formats and presets vary by plan and workflow; check the active export menu.
Does AI mocap remove all cleanup?
No. Production use often requires retargeting, target contacts, root/stride correction, local smoothing and mesh validation.
Can I use the animation on any character?
You can use it on many compatible humanoid characters after defining a correct skeleton and reference-pose mapping.
What is text-to-motion?
It generates a new motion from a written prompt. It does not reconstruct a real recorded performance.
Is QuickMagic free to try?
A Free plan is currently listed with monthly V Coins, 30-second/100 MB mocap limits, 30 FPS and FBX output. Check current pricing before production.
Related QuickMagic guides
Start with a five-to-ten-second test
Record a short clip containing the hardest turn, arm crossing, foot plant or jump. Validate the complete QuickMagic-to-character pipeline before filming a longer performance.
Official and workflow references
- QuickMagic: Original motion capture at home guide
- QuickMagic: Current video, text, capture-scope and export overview
- QuickMagic: Current plan limits and export entitlements
- QuickMagic: Capture-quality guidance
- QuickMagic: Common motion-capture problem fixes
- Blender: FBX import workflow
- Epic Games: IK Rig animation retargeting
- Stable Full-Body Animation from Footage with QuickMagic
- QuickMagic AI Motion Capture + Mixamo + Blender Tutorial




