


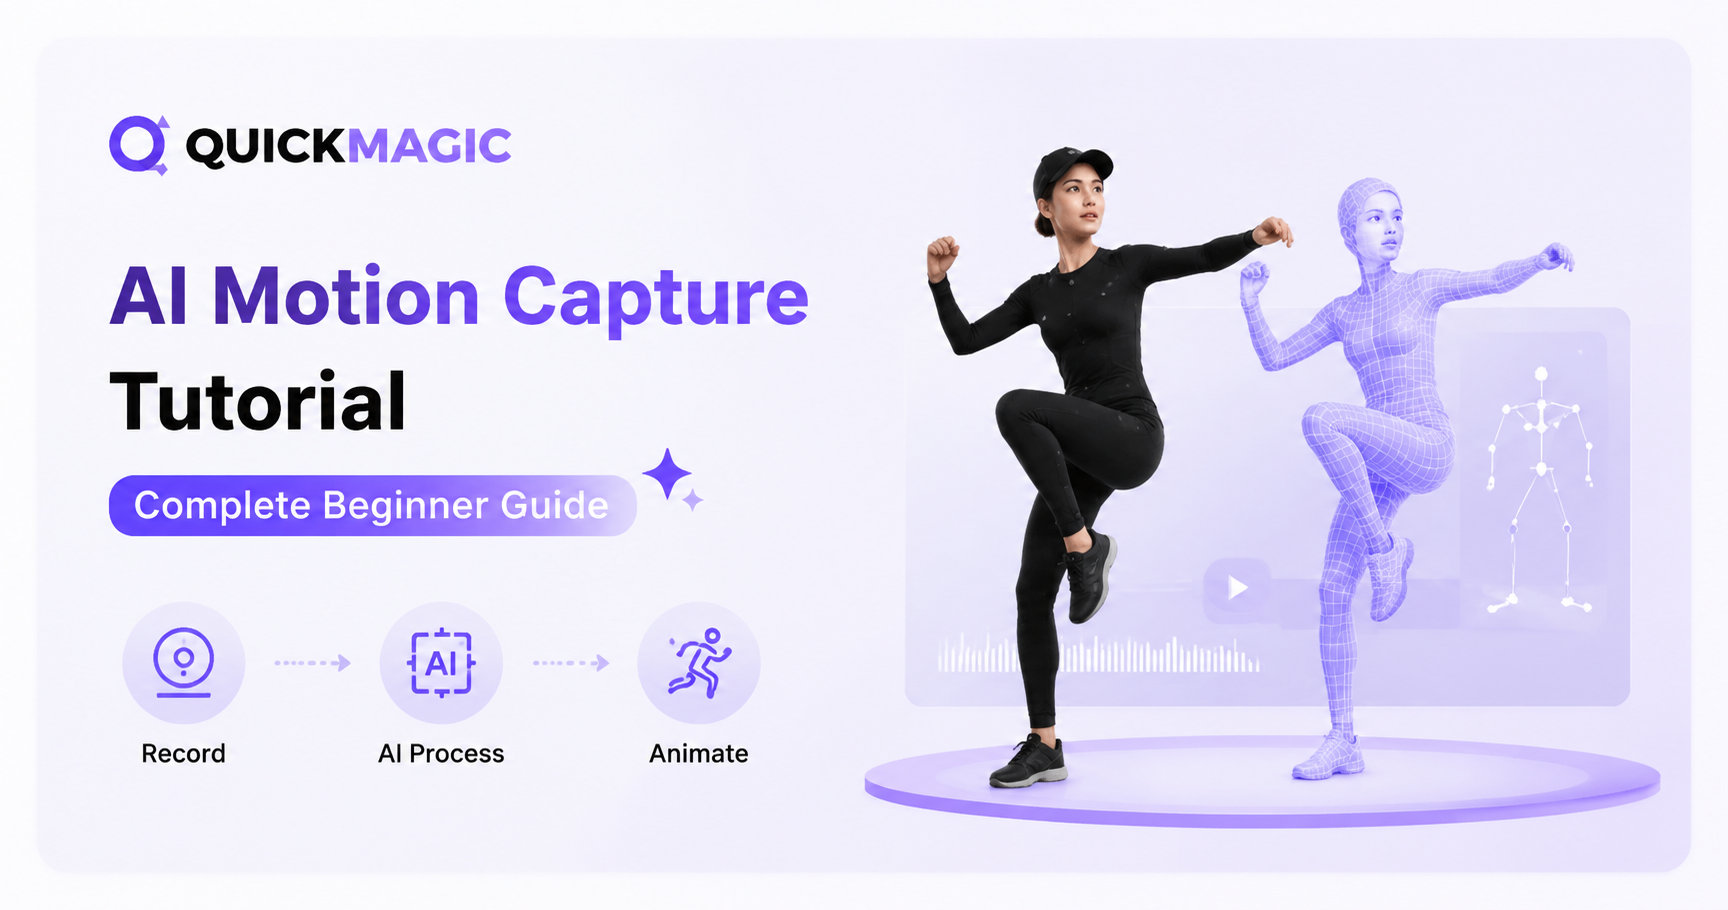
Beginner · Video to 3D · FBX · Retargeting · Free Plan
AI Motion Capture Tutorial: Step-by-Step Beginner’s Guide
Turn a phone, webcam or camera recording into editable 3D animation with QuickMagic. This guide covers source-video preparation, upload, trimming, subject selection, capture scope, model, pose, frame rate, motion cleanup, correction, export, retargeting and final-character validation.
Current plan limits
Beginner workflow videos
Video to 3D MoCap Animation — QuickMagic Full Tutorial
Shows the complete browser workflow from video input to editable 3D motion.
Open on YouTubeQuickMagic AI Motion Capture + Mixamo + Blender Tutorial
Continues from QuickMagic export through Mixamo and Blender character use.
Open on YouTubeWhat you need before starting
- A video containing a real performer and the motion you need.
- A browser; QuickMagic documentation recommends Google Chrome.
- A QuickMagic account and enough V Coins for the selected job.
- Permission and appropriate rights to use the performer’s video.
- A destination tool or character workflow for final validation.
1Prepare a trackable source video
Recommended starting point
Use one continuous 5–15 second shot at 720p or higher. A sharp 1080p/30 FPS clip is a strong default. Use 60 FPS for fast movement only when lighting keeps hands and feet sharp and the final workflow needs the extra samples.
- Keep every required body part inside a safety margin.
- Show the floor when foot contact, jumps or root height matter.
- Avoid abrupt cuts, large zoom changes and long out-of-frame movement.
- Use clothing that separates arms and legs from the background.
- Minimize long self-occlusion, furniture obstruction and multi-person overlap.
- Upload footage you recorded or have permission and rights to use.
2Upload the original camera file
- Sign in to QuickMagic.
- Open AI Mocap.
- Select Upload Video or drag the file into the workspace.
- Wait for the upload and verify the preview duration.
Prefer the original camera file. Messaging apps and social platforms may change resolution, compression, frame rate or timestamps, which can make fast motion harder to reconstruct.
3Trim the useful action
Use the built-in editor to isolate the movement, but preserve a short stable lead-in and lead-out when possible. Context helps review takeoff, landing, hand identity and contact transitions.
- Remove long inactive sections and irrelevant people.
- Do not cut exactly on a fast spin, jump or contact change.
- Use a short test before committing credits to a full clip.
- Name the test with the action and settings, such as
jump_v1_30fps_2x.
4Detect and select the performer
QuickMagic detects people in the clip. Confirm the correct subject before assigning a capture/output preset.
- In multi-person footage, check overlap and identity continuity.
- Avoid selecting a person who repeatedly leaves the frame.
- Review whether the camera is static or moving.
- Do not treat successful detection as proof that hands, feet or depth are correct.
5Choose capture type and output settings
Capture scope
- Full Body: locomotion, dance, sports, kicks, jumps and floor contact.
- Upper Body: dialogue, gestures, presenters, sitting and animation layers.
- Hands: visible hand and finger movement; use larger hand images.
- Face: clear, unobstructed facial performance; dedicated close footage is stronger.
Reference pose
Select Original, T-Pose or A-Pose according to the destination. Unreal, Unity and custom rigs do not all use the same reference pose. Matching the target is more important than applying T-pose universally.
Export format
The current Free plan lists FBX. Paid plans list FBX plus Unreal, Mixamo, BIP, VMD, Only Face, Unity Anim, C4D, CC and iClone and Roblox. Other product pages may mention additional workflows; use the current export interface as the final source of truth.
6Name the project, generate and review
Use a descriptive name containing action and key settings, then generate the motion. Processing time varies with clip length, resolution, selected features, queue load and plan priority.
Review the source skeleton
- Do left and right limbs keep their identities?
- Does the pelvis/root follow the performer?
- Are takeoff, landing, impacts and body lean preserved?
- Do planted feet have plausible speed and contact?
- Do hands and face contain enough useful detail for the selected scope?
Use Physics Optimization cautiously
Start with a low iteration value to preserve motion amplitude. Higher settings may improve stability but can soften jumps, impacts, stride and expressive timing.
Use 2D Refinement for observable errors
On supported paid plans, 2D Refinement can correct a wrongly detected joint or foot contact before regeneration. It is not a replacement for target-rig mapping, skinning or scene contact.
7Export, retarget and validate
- Download the available source motion and preserve an untouched copy.
- Import with the correct axis, scale and frame rate.
- Match source and target T-pose or A-pose.
- Map root, pelvis, spine, limbs and optional hands/face.
- Check duration in seconds, root travel and target stride.
- Fix feet, hands, props, terrain and local noisy curves.
- Reimport the final file into a clean scene and validate it again.
Beginner troubleshooting guide
| Problem | Likely layer | Recommended first action |
|---|---|---|
| Hands or feet disappear | Source video | Use wider, sharper footage with more visibility |
| Wrong knee or elbow bend | Source solve | Correct the visible joint with 2D Refinement or compare models |
| Motion feels weak | Source/physics | Lower the physics iteration and check blur |
| Shoulders rise after import | Retargeting | Correct T/A-pose and clavicle/arm mapping |
| Feet slide on the target | Retarget/target | Match root speed and stride, then apply planted-foot IK |
| Character clips through itself | Target character | Review joint limits, skin weights and corrective shapes |
| Animation plays too fast/slow | Import timing | Check duration in seconds and sample-rate settings |
| Export option is missing | Plan/workflow | Check the current Pricing page and active export menu |
Quick beginner checklist
- The source is one continuous, sharp and legally usable clip.
- Framing matches Full Body, Upper Body, Hand or Face capture.
- The clip stays inside current duration and size limits.
- The intended performer is selected and identity remains stable.
- Model, pose, FPS, physics, root and export preset are documented.
- Visible source errors are corrected before export.
- An untouched source motion file is preserved.
- The final target rig is checked for pose, stride and contacts.
- The completed file is reimported and reviewed at normal and slow speed.
Original article cover
Frequently asked questions
Is QuickMagic AI motion capture free?
A Free plan is currently listed with 50 V Coins, 30-second and 100 MB limits, 30 FPS processing and FBX output.
What video should I use for my first test?
Use a short, continuous, well-lit and sharp clip with the required body parts visible and limited occlusion.
Can I use a moving camera?
Selected moving-camera workflows are supported, but shake, rapid viewpoint changes, zoom and occlusion require extra root/global-motion review.
Which capture scope should I choose?
Full Body for locomotion; Upper Body for dialogue and gestures; Hand or Face when those areas are visible at sufficient size.
Which formats are free?
The current Free plan lists FBX. Additional target-oriented formats are listed on Starter and Professional.
What does 2D Refinement fix?
It fixes visible source-detection errors, including wrong joint positions or contact labels. It is currently a paid-plan feature.
Does Physics Optimization remove all foot sliding?
No. Target proportions and retargeting can create new sliding; correct root and stride, then use timed foot IK.
Can I use the result directly in Blender or Unreal?
The data can enter those pipelines, but the final character may need reference-pose, chain, contact and deformation corrections.
How long does generation take?
Time varies with video length, resolution, selected features, queue load and plan priority.
What should I validate before approval?
Source fidelity, root, left-right identity, contacts, retarget pose, timing, mesh deformation and final reimport.
Related QuickMagic guides
Create one short test before processing the complete clip
Choose the hardest action interval, document every setting, export it and test it on the final character. Use the result to decide whether to change the source, model, physics, pose, root or retarget workflow.
Official and workflow references
- QuickMagic: Original beginner tutorial
- QuickMagic: Current capabilities and workflow limits
- QuickMagic: Current plans, duration, size, frame rate, storage and formats
- QuickMagic Docs: Upload, detect, assign output and generate
- QuickMagic Docs: Source-video and capture-scope guidance
- QuickMagic Docs: Editing and 2D Refinement
- Epic Games: IK Rig retargeting
- Blender: FBX import/export
- Video to 3D MoCap Animation — QuickMagic Full Tutorial
- QuickMagic AI Motion Capture + Mixamo + Blender Tutorial




