


24 · 30 · 60 · 120 FPS Animation Output

QuickMagic Multi-FPS MoCap Guide: Choose, Import and Retiming Correctly

Understand the difference between source-video VFR and fixed animation sampling, choose 24, 30, 60 or 120 FPS for the actual delivery pipeline, normalize problematic phone footage, avoid accidental import resampling, and validate QuickMagic animation in Maya, Unreal Engine, Unity, Blender, iClone and 3ds Max.

Published September 2, 2025 · Updated July 15, 2026 · QuickMagic Editorial Team

QuickMagic multi-FPS motion capture options at 24, 30, 60 and 120 FPS with current duration limits
Direct answer: Use 24 FPS when the final animation and editorial timeline are 24p; use 30 FPS as a balanced general-purpose asset rate; use 60 FPS when fast motion, curve editing or downstream processing needs denser samples; use 120 FPS only when the source contains real high-speed detail or the asset will be retimed. A game's render rate is not the same as an animation clip's sample rate, and exporting a low-FPS source at 120 FPS does not recreate missing motion information.
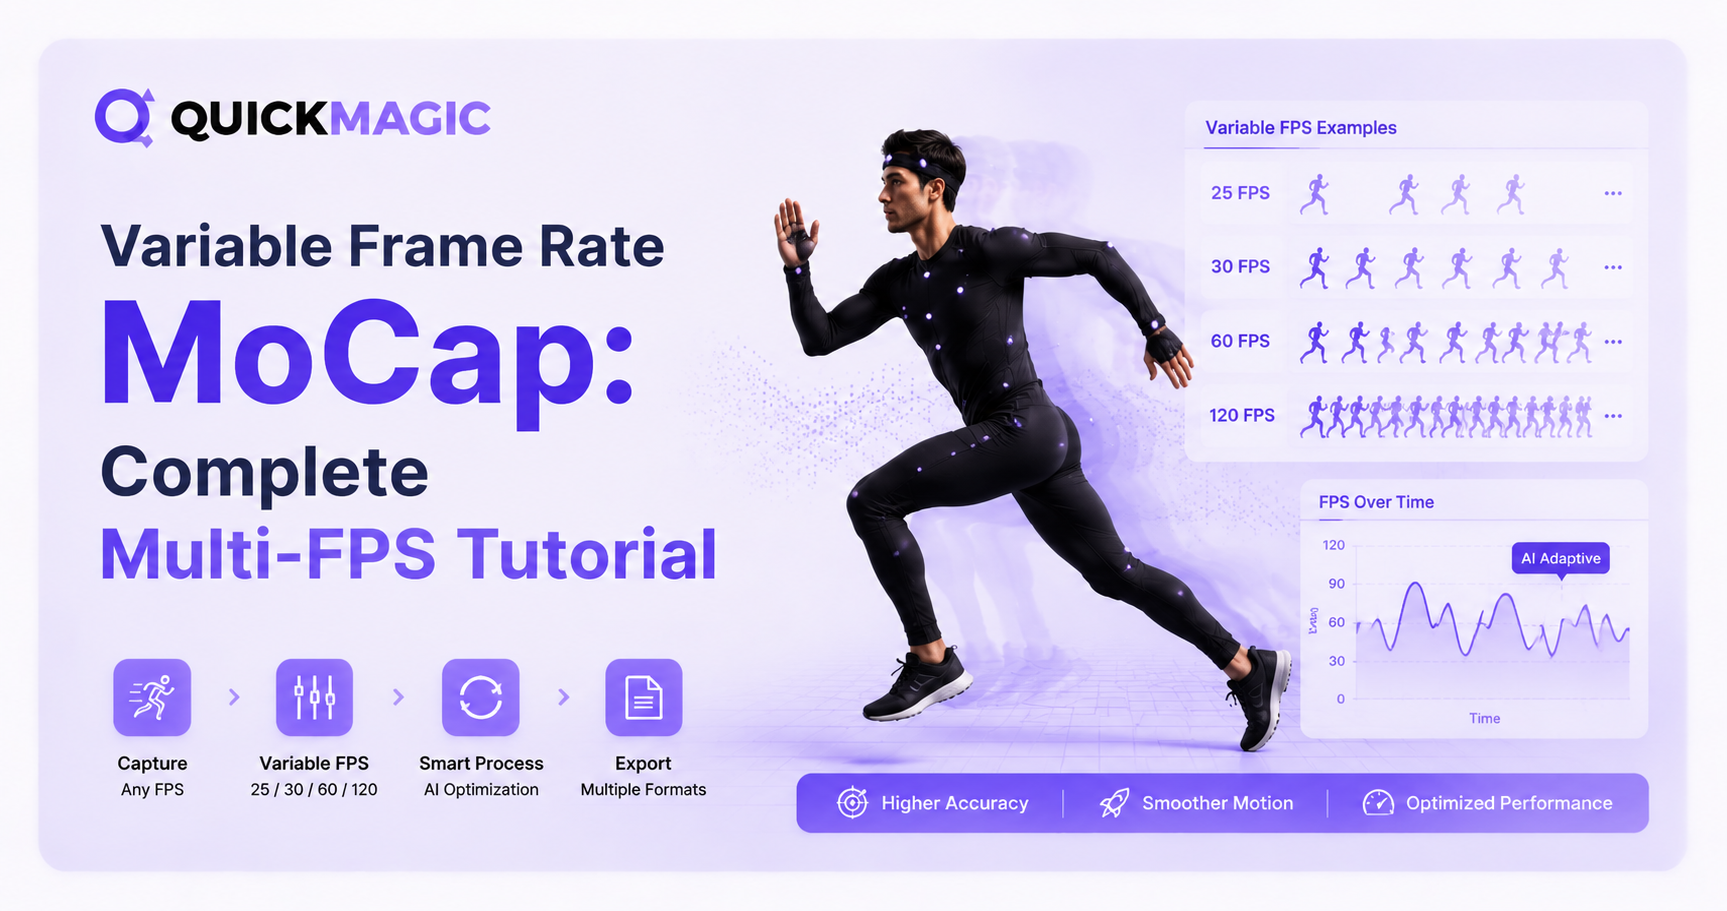
Terminology correction: the QuickMagic feature is more accurately described as multi-FPS fixed-rate output. “Variable frame rate” commonly refers to source video whose frame timestamps are uneven. The original page also contains a cover graphic labeled 25 FPS, while its article text and the current pricing comparison use 24 FPS.

Current QuickMagic frame-rate limits

Free30 FPS · up to 30 seconds
Paid 24 FPSUp to 60 seconds
Paid 30 FPSUp to 60 seconds
Paid 60 FPSUp to 30 seconds
Paid 120 FPSUp to 15 seconds
Paid upload limit200 MB per source file

Checked against the QuickMagic pricing comparison on July 15, 2026.

QuickMagic feature and import workflow videos

QuickMagic AI Motion Capture Feature Overview

Shows QuickMagic feature updates, including multi-frame-rate motion output.

Open video on YouTube

QuickMagic AI Motion Capture + Mixamo + Blender Tutorial

Demonstrates a generated QuickMagic motion moving through a Mixamo/Blender workflow.

Open video on YouTube

The players use static YouTube iframes and no runtime JavaScript. If embedded playback is blocked by a browser, network, region or local file viewer, use the red direct links. All article images are embedded in the HTML.

Do not mix up source, asset and runtime frame rates

Pipeline diagram separating source video frame rate, mocap output sample rate, DCC scene FPS, engine clip import rate and runtime render FPS
A production can contain several independent rates. Matching everything blindly is less useful than understanding which stage is being sampled or displayed.

1. Source-video frame timing

This describes when camera frames were recorded. A phone file can be constant-frame-rate or variable-frame-rate, even when its metadata reports an average such as 30 FPS.

2. Animation sample rate

This describes how many stored animation evaluations or keys exist per second. QuickMagic's 24/30/60/120 options belong to this category.

3. Runtime render/display FPS

This is how often a game or viewport draws a frame. Engines evaluate animation over continuous time and interpolate between stored curve samples. A 30 FPS asset can therefore play smoothly in a game that renders at 60, 90 or 120 FPS.

Original article graphics and corrections

Original QuickMagic variable frame rate mocap cover graphic
Original page cover, embedded for reference. It displays “25 FPS,” but the article text and current product table specify 24 FPS.
Original QuickMagic frame rate use-case comparison table
Original comparison table. Treat the categories as starting points rather than strict standards: games do not universally require 60 FPS animation assets, and high-speed detail depends on the source footage.

Source VFR vs. QuickMagic fixed multi-FPS output

Diagram comparing uneven variable frame rate source video with evenly sampled fixed frame rate animation output
Normalize a source only when its timestamps cause trouble. Re-encoding every source automatically can add unnecessary quality loss.

Detect VFR with FFmpeg

ffmpeg -i input.mp4 -vf vfrdet -an -f null -

FFmpeg's vfrdet filter reports frames with variable and constant PTS deltas. A nonzero variable result is a reason to inspect the file—not proof that it must always be converted.

Convert a problematic phone VFR file to 30 FPS CFR

ffmpeg -i input.mp4 \
  -map 0:v:0 -map 0:a? \
  -vf "fps=30:start_time=0" \
  -c:v libx264 -crf 18 -preset medium \
  -c:a aac -b:a 192k -movflags +faststart \
  output_cfr30.mp4

FFmpeg's fps filter creates a constant output rate by dropping or duplicating frames as necessary. It preserves a stable timeline but does not perform motion-compensated reconstruction or recover detail that was not recorded.

Replace fps=30 with fps=60 only when the source and intended workflow justify 60 FPS. Converting a 30 FPS source to 60 or 120 merely increases the number of output frames unless a separate interpolation method is used.

1Choose output FPS from the delivery requirements

Decision guide for choosing 24, 30, 60 or 120 FPS QuickMagic motion output
Decide from the final asset backward: delivery, editing, retiming, source quality and plan duration all matter.
OutputBest starting useCurrent paid durationImportant caveat
24 FPS24p film, animation and cinematic editorial60 secondsLess dense for very rapid action; do not confuse 24 with 23.976
30 FPSGeneral web, creator, prototype and many real-time assets60 secondsA 30 FPS asset can still play smoothly in a high-render-FPS game
60 FPSFast combat, sports, VR editing and dense curve work30 secondsMore keys, larger files and more cleanup cost
120 FPSHigh-speed source footage, retiming and detailed analysis15 secondsOnly useful when the source has genuine temporal detail or the take will be conformed

Frame-count budget

A fixed-rate clip contains approximately duration × FPS samples when animation is baked every frame. Under the current limits, 30 FPS × 60 seconds, 60 FPS × 30 seconds and 120 FPS × 15 seconds each equal about 1,800 sample times. Actual file size also depends on bones, curves, compression and export format.

2Generate the QuickMagic motion

  1. Upload the original source or validated CFR mezzanine.
  2. Select full body, upper body, hands, face or the required capture mode.
  3. Choose the target software/skeleton preset.
  4. Select 24, 30, 60 or 120 FPS according to the workflow above.
  5. Choose traveling or in-place motion deliberately.
  6. Enable applicable physical or anti-penetration optimization.
  7. Generate and inspect the preview.
  8. Download the motion and record the selected FPS in the filename or asset metadata.

A useful filename is Actor_Action_QM_60fps_Traveling_v01.fbx. This prevents a later artist from guessing the sampling rate or root behavior.

Maya: set the time unit before retargeting or resampling

  1. Open Windows → Settings/Preferences → Preferences.
  2. Set the Maya Time unit to the intended asset or delivery rate.
  3. Import the QuickMagic FBX.
  4. Check animation duration in seconds—not only the ending frame number.
  5. Characterize and retarget with HumanIK or the production rig workflow.
  6. When exporting with FBX Resample All, remember that Maya uses the host application's frame-rate/time setting.
Changing Maya's time unit can preserve seconds or reinterpret frame positions depending on the chosen update behavior and operation. Duplicate the scene and verify the duration before changing an established project's rate.

Unreal Engine: control the FBX animation sample rate

  1. Import the FBX as skeletal animation and select the correct Skeleton asset.
  2. Enable Import Animations.
  3. Disable Use Default Sample Rate when you do not want all curves sampled at 30 FPS.
  4. Set Custom Sample Rate to 24, 30, 60 or 120, or use 0 for automatic selection.
  5. Import and inspect sequence duration, number of sampled keys and root motion.
  6. Retarget with the IK Rig/IK Retargeter when the target skeleton differs.
Unreal's runtime frame rate and Animation Sequence sample rate are separate. Do not set the imported asset to 60 only because the game targets 60 rendered frames per second.

Unity: verify the imported Animation Clip instead of assuming 30 FPS

  1. Place the FBX in the Unity project.
  2. Use the Rig tab to configure Humanoid or Generic and verify the Avatar/root node.
  3. Enable Import Animation on the Animation tab.
  4. Preview the clip and verify its start/end frame, duration, root transform and loop settings.
  5. Review Resample Curves when the source contains Euler curves.
  6. Test the clip in the Animator at different runtime rendering rates.

Unity's variable runtime timestep and fixed physics timestep are separate from the sample density of an imported animation clip. Do not use Fixed Timestep as a method for correcting the FPS of imported mocap.

Blender: set scene FPS and validate duration

  1. Set Output Properties → Format → Frame Rate to the intended scene rate.
  2. Import the QuickMagic FBX with Animation enabled.
  3. Inspect the imported Action in the Dope Sheet and Graph Editor.
  4. Confirm the duration in seconds: ending frame divided by scene FPS.
  5. Retarget to the target armature.
  6. Use sample/key reduction only after target contacts and motion accents are approved.

Blender defines scene duration from frame range and scene frame rate. For example, 300 frames at 30 FPS and 600 frames at 60 FPS are both ten seconds.

iClone and 3ds Max

iClone

Use Import External Motion or the applicable Reallusion characterization workflow. Select the correct source sampling behavior, inspect motion duration, then use Motion Layer and Motion Correction for target-specific cleanup.

3ds Max

Set Time Configuration deliberately before import or resampling. Use BIP for Biped, FBX/CAT Capture Animation for CAT and a custom retargeter for other rigs. Check whether changing Time Configuration rescales time or only changes display interpretation.

Resampling and conforming are different operations

OperationDurationResult
Resample 120 FPS to 30 FPSPreservedFewer stored samples over the same seconds; no slow motion
Conform 120 FPS samples to a 30 FPS timeline4× longerQuarter-speed slow motion while retaining every source sample
Interpret 30 FPS frame numbers as 60 FPS without time compensationHalf as longAnimation plays twice as fast—usually an error
For quarter-speed slow motion, 120 source samples per second become 30 displayed samples per second. The speed factor is 30 ÷ 120 = 0.25.

Common multi-FPS problems

ProblemLikely causeRecommended fix
Animation plays too fast or slowFrame numbers were reinterpreted at another time unitCompare duration in seconds and rescale time or restore the correct scene FPS.
Phone footage drifts from audioUneven VFR timestamps or problematic transcodeInspect with vfrdet and create a CFR mezzanine when required.
120 FPS output still looks choppyLow-FPS, blurred or repeated source framesUse a sharper high-FPS source; extra output samples cannot reconstruct absent detail.
Unreal sequence imports at 30 FPSUse Default Sample Rate is enabledDisable it or set Custom Sample Rate deliberately.
Game at 60 FPS seems unrelated to clip FPSRuntime rendering and animation sampling were confusedEvaluate motion fidelity independently from render performance.
File is much larger than expectedDense keys at 60/120 FPSUse the lowest justified rate or reduce keys after final retarget/cleanup.
Foot events trigger at wrong timeClip was resampled or events referenced frame numbers rather than secondsRebuild events after the final clip sample rate is established.
24 FPS delivery does not match 23.976 footageInteger and fractional film rates were treated as identicalConfirm editorial timebase and perform an intentional conform/resample.

Production checklist

  • The source frame timing has been inspected.
  • Problematic VFR footage is normalized only when necessary.
  • The output rate is chosen from delivery and editing requirements.
  • The selected FPS is available within the plan's duration limit.
  • The QuickMagic filename records FPS and root-motion behavior.
  • The DCC scene's time unit is set deliberately.
  • Engine import does not silently force a default sample rate.
  • Duration is checked in seconds after every conversion.
  • Contacts and root travel are verified after retargeting.
  • Runtime render FPS is tested separately from animation quality.

Frequently asked questions

Is QuickMagic multi-FPS the same as VFR video?

No. Multi-FPS means selecting a fixed animation sample rate. VFR video contains uneven source-frame timestamps.

Which frame rates and duration limits are currently available?

Free currently lists 30 FPS up to 30 seconds. Starter and Professional list 24/30 FPS up to 60 seconds, 60 FPS up to 30 seconds and 120 FPS up to 15 seconds.

Should a 60 FPS game use 60 FPS motion assets?

Not automatically. Engines interpolate animation over time. Use 60 FPS assets when the motion fidelity or editing pipeline benefits from denser samples.

Does 120 FPS output improve a 30 FPS source?

It increases output sample count but cannot recover motion that was not captured. Record real high-frame-rate, low-blur footage for genuine fast-motion detail.

How do I detect VFR?

Use FFmpeg's vfrdet filter and inspect the final variable/constant PTS report.

How do I convert a phone VFR file to CFR?

Use FFmpeg's fps filter at the intended rate, preserving the audio stream. The filter drops or duplicates frames; it does not recover missing detail.

Why did Unreal turn my motion into 30 FPS?

The default-sample-rate option samples animation at 30 FPS. Disable it, use automatic source detection or set a Custom Sample Rate.

How do I make 120 FPS animation quarter-speed?

Conform all 120 samples to a 30 FPS timeline so the duration becomes four times longer. Resampling while preserving duration is not slow motion.

Related QuickMagic guides

Validate one short clip before processing the full take

Test the source timestamps, output FPS, target preset and import settings on a short action, then reuse the confirmed pipeline for the longer motion.

Open QuickMagic AI Motion Capture →

Official references and video sources


